Making the Morning Dress
I brought Snow home and I set to making a dress to check to make sure the patterns worked for the doll I’d bought. Unfortunately this meant skipping ahead in the pattern order.
The Mary Frances sewing book comes with a series of inserted patterns and mine magically had all…except the first insert for Night-Gown, Bath-Robe, Kimono (not an actual kimono), and Dressing Sack (an item of clothing that is much nicer than it’s name).
There were ways around a missing pattern insert. The whole book can be viewed or downloaded in a variety of formats from here from openlibrary.org. The book is past its copyright issues.Thanks to the PDF version of the book I have the first insert (after some fiddling around in photoshop to check the size) but I have no printer..and no patience..and didn’t wish to make a trip to my nearest convini store to print it out.
Note: The 100th Anniversary editions of the Mary Frances books still feel to me like a cash grab. The sewing re-release makes some sense, as the patterns were re-sized to fit those American Girl dolls, but the other books are so repugnant or out of date it seems pig-headed to me that they were re-released…which I will address in the future because I read the house keeping book and it is SO FUCKING RACIST I’m going to need time to process it and figure out how to address it in a way that isn’t possibly upsetting to POC who don’t need reminders of how racist AF things have been and continue to be.
I jumped ahead to the Morning Dress, because I had that insert, and I traced a copy of the pattern and made it.

I’d picked up the skeleton fabric in the remainder bin somewhere, because I love skeletons, and this was left over from a summer project of making myself some home-lounging boxer-shorts.
In the interest of this blog I have now started on making a second morning dress to explain the process.
This is what the pattern looks like:

The pattern has OO to indicate where fabric should be folded in half.
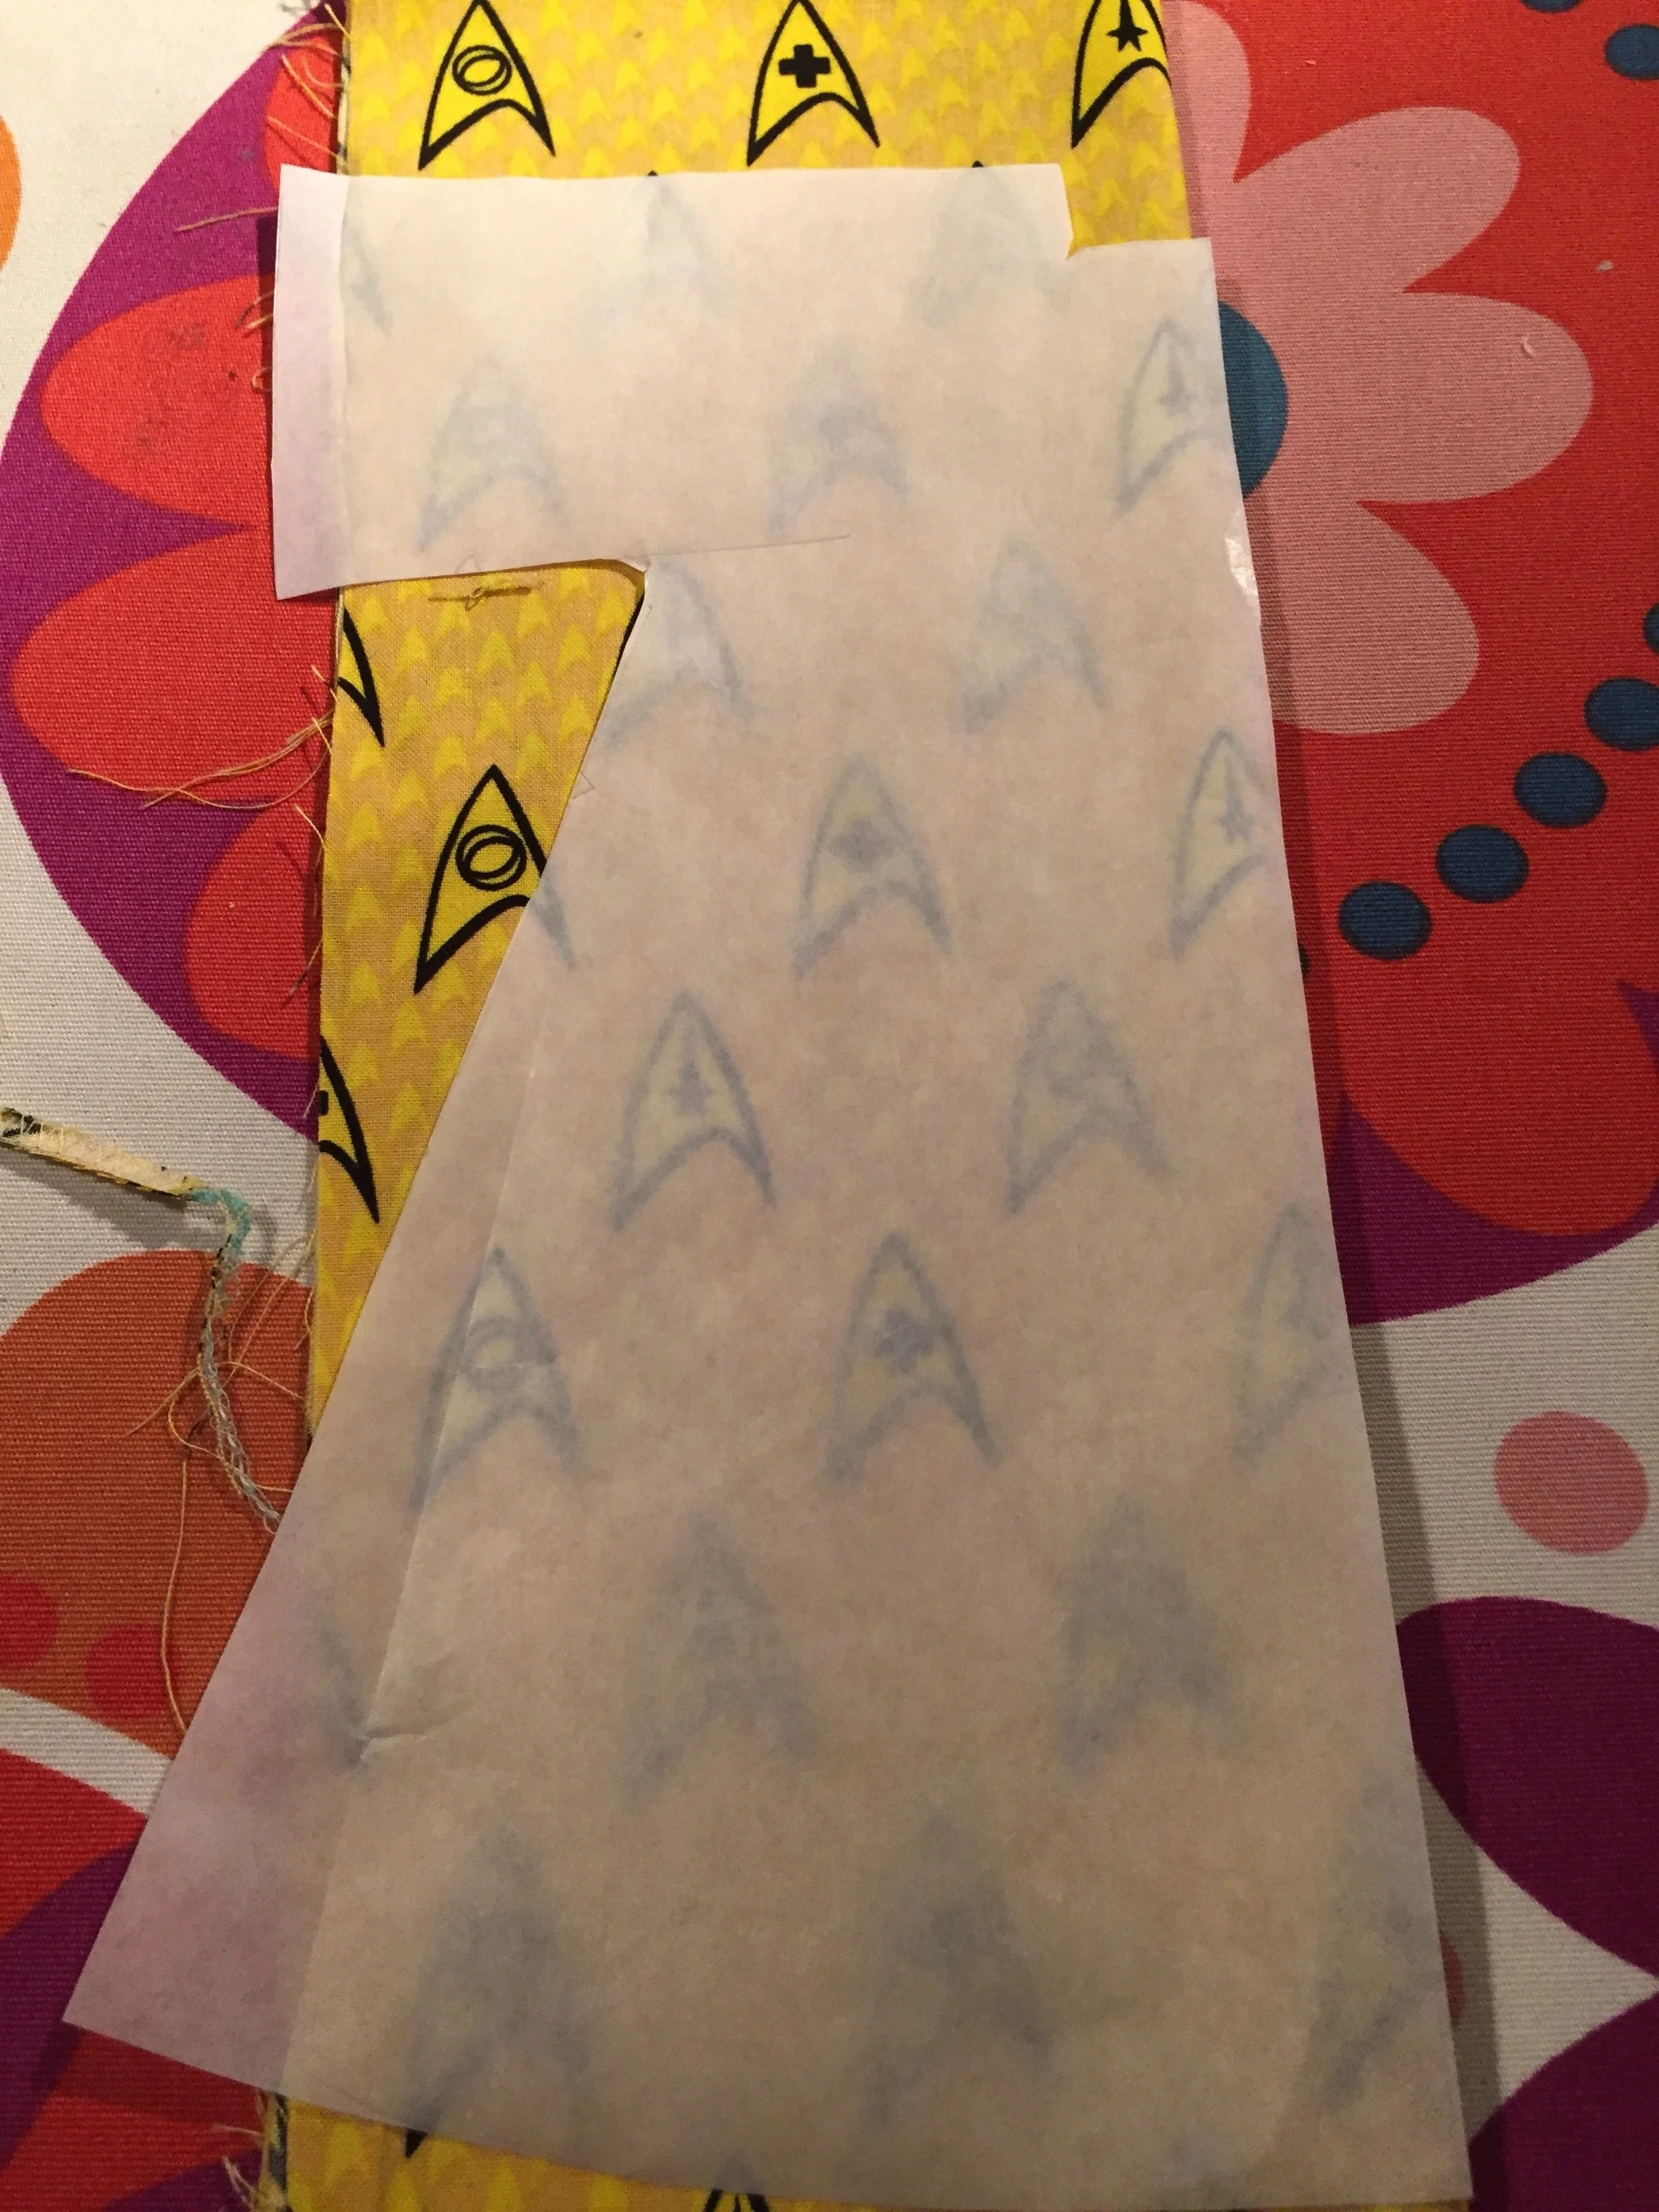
I started by tracing the pattern from the book insert. Then I dug into my stash of fabrics and came up with this Star Trek fabric a good friend of mine sent me a couple years back for my birthday.

I’m not actually a huge Star Trek fan but that friend HAD accompanied me and a group of HUGE fans to see Star Trek Generations on opening night. He and I had been a couple and we were dressed up like dapper people. Most of my friends, however, were all decked out in various Star Trek regalia cosplay.
Now I have Star Trek curtains in my classroom, star trek drawer linings, and Star Trek leftovers in this print (which is, mysteriously, NOT AVAILABLE IN JAPAN) and I think of him often and fondly.
As you can see, the amount I had was NOT enough for the pattern, so I simply made the pattern smaller.
Let’s use the directions!
1. Cut out in same way as pinafore.
From pinafore section:
1. Fold goods lengthwise. Place edge of pattern having two rings (go) on this fold. Pin in place. Cut out.
This is what jumping ahead in pattern order does. It makes you flip back and forth because you’d missed instructions and skills gained from earlier lessons.
Returning to the Morning Dress
2. For neck-band, use a six-inch square of white lawn.
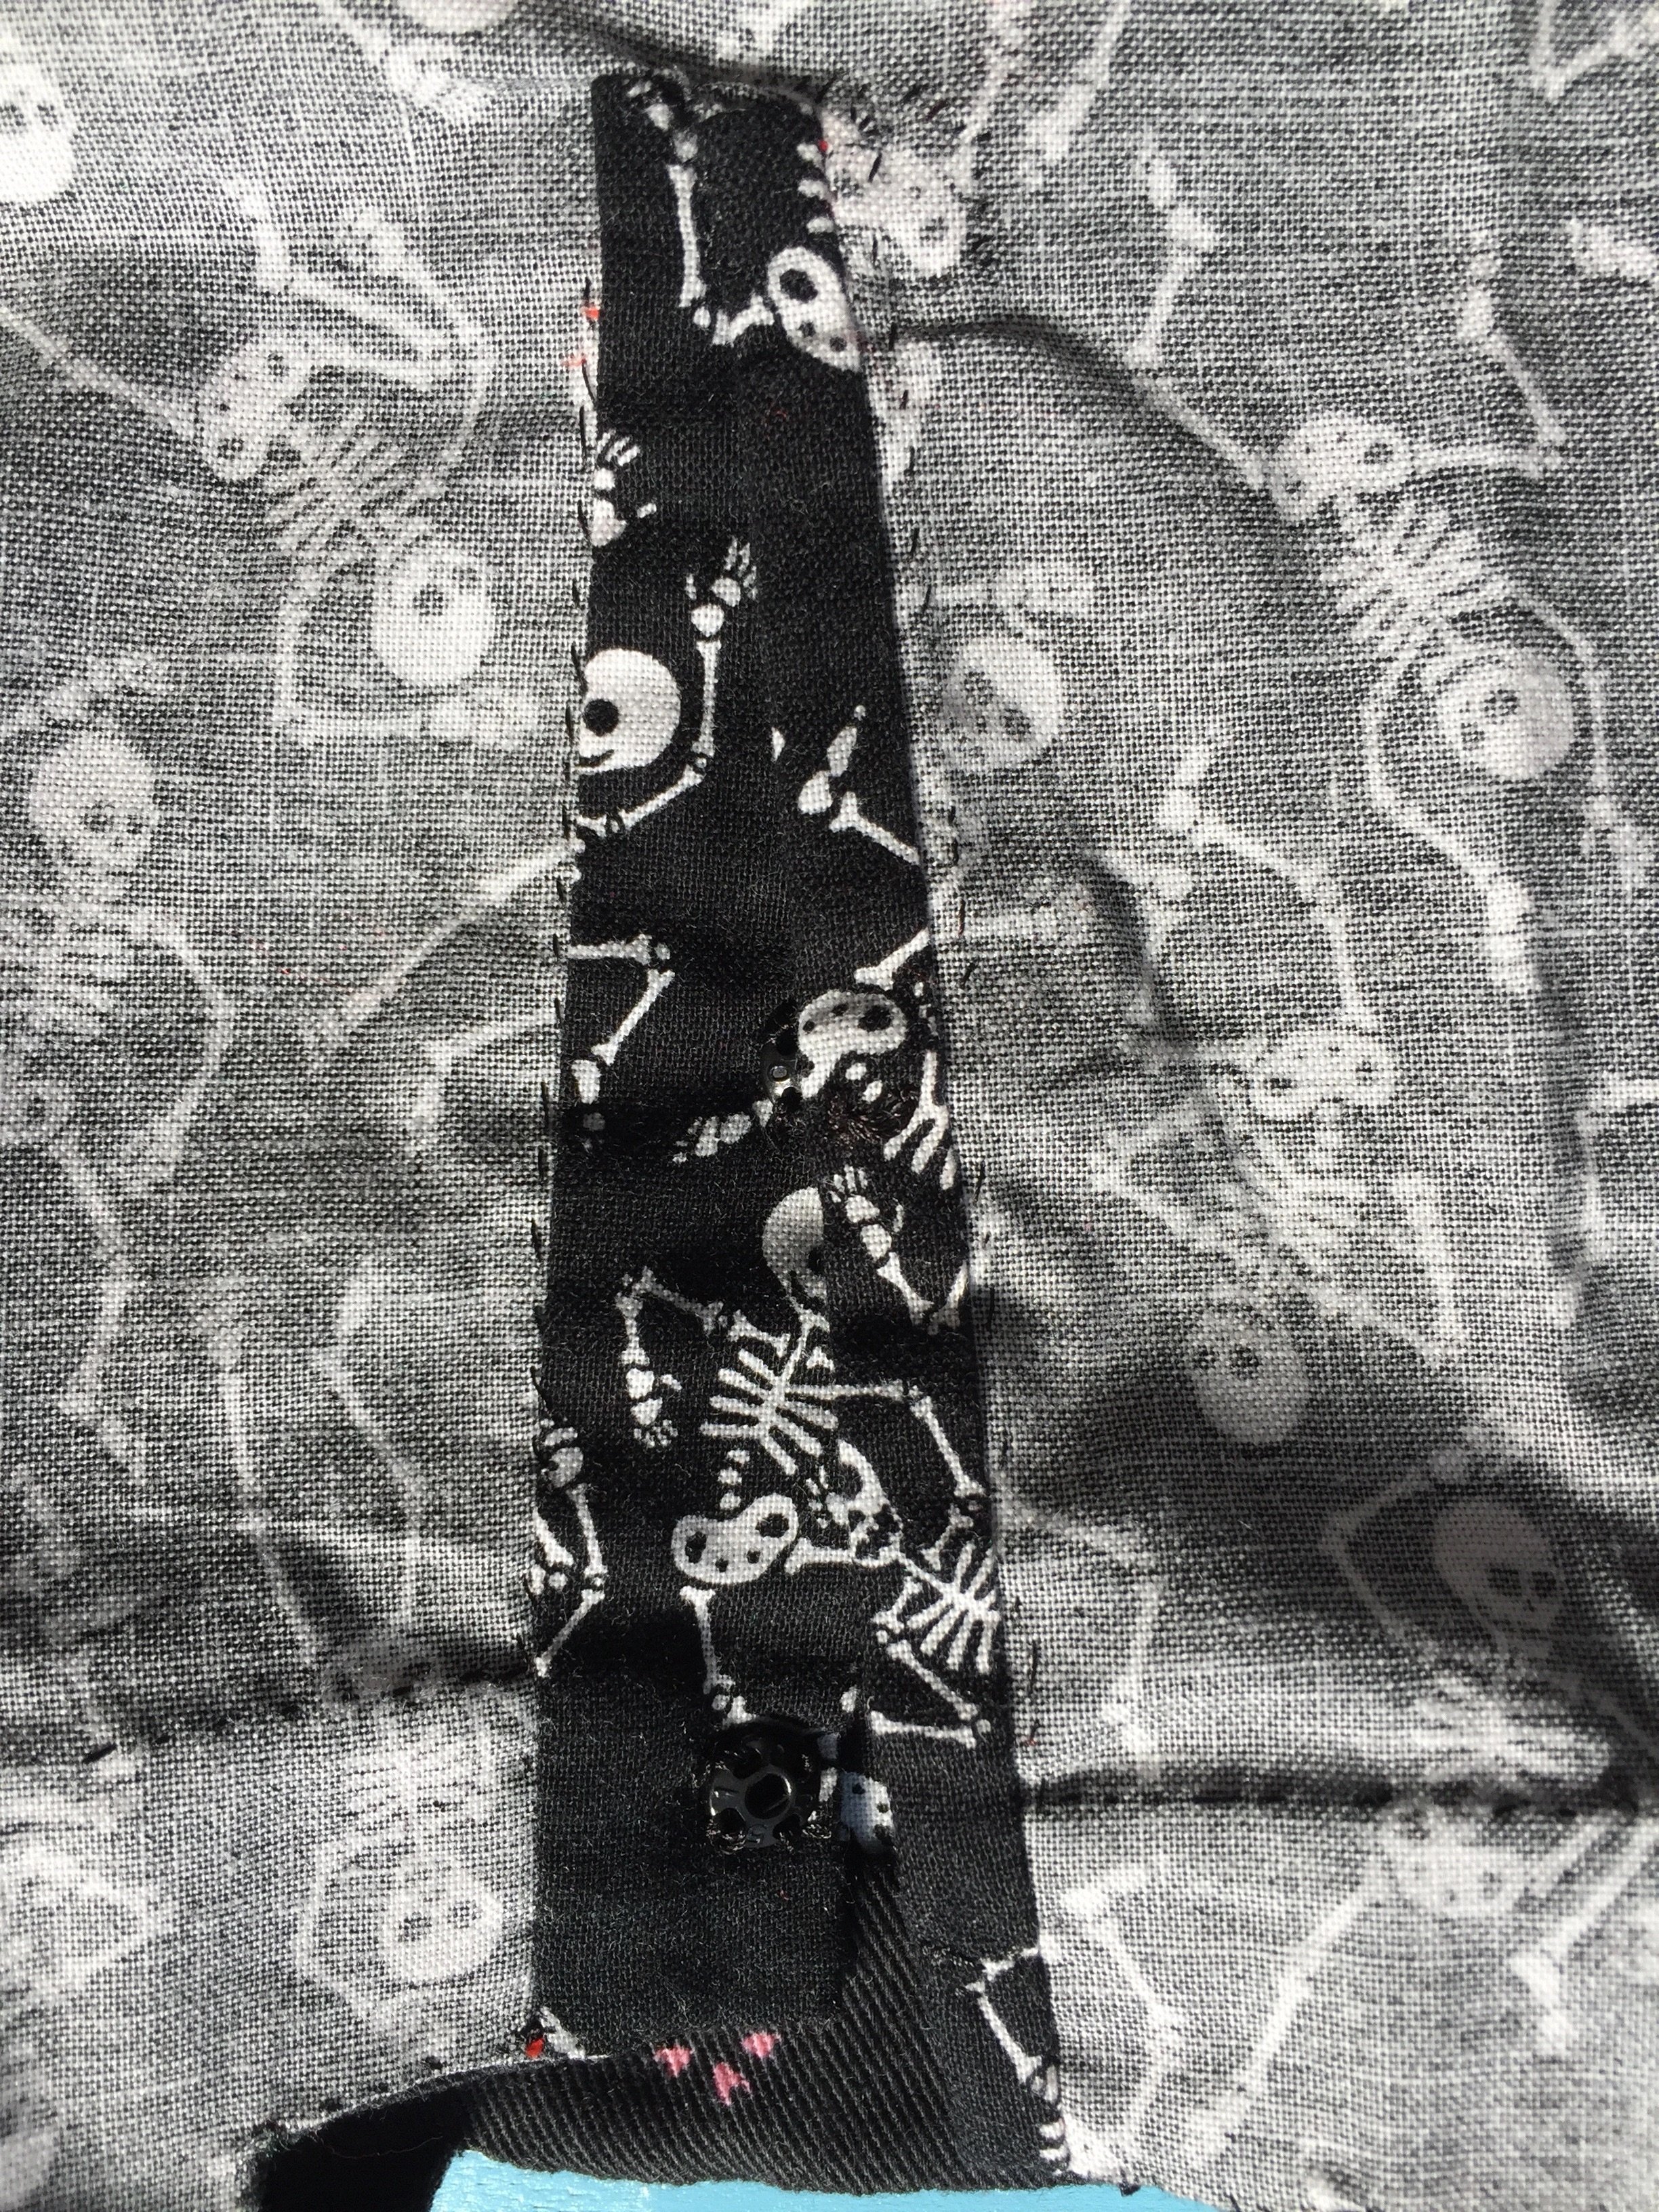
This is my black fabric. On the first dress I used green satin at first but the satin turned out to be of too low a quality fabric to endure the 1/8th of an inch folding that would soon be required of it. It frayed. I swore. It defeated me. It was replaced with black cotton with cherry blossom. petals.
3.Place neck-band pattern on the lawn, having the edges which are marked with two rings (oo) each on a fold.
4. Pin in place. Cut out. Open. Make tiny clip in each comer of the neck opening.
5. Cut sleeve-bands of white lawn, with double rings (oo) on fold of cloth.”


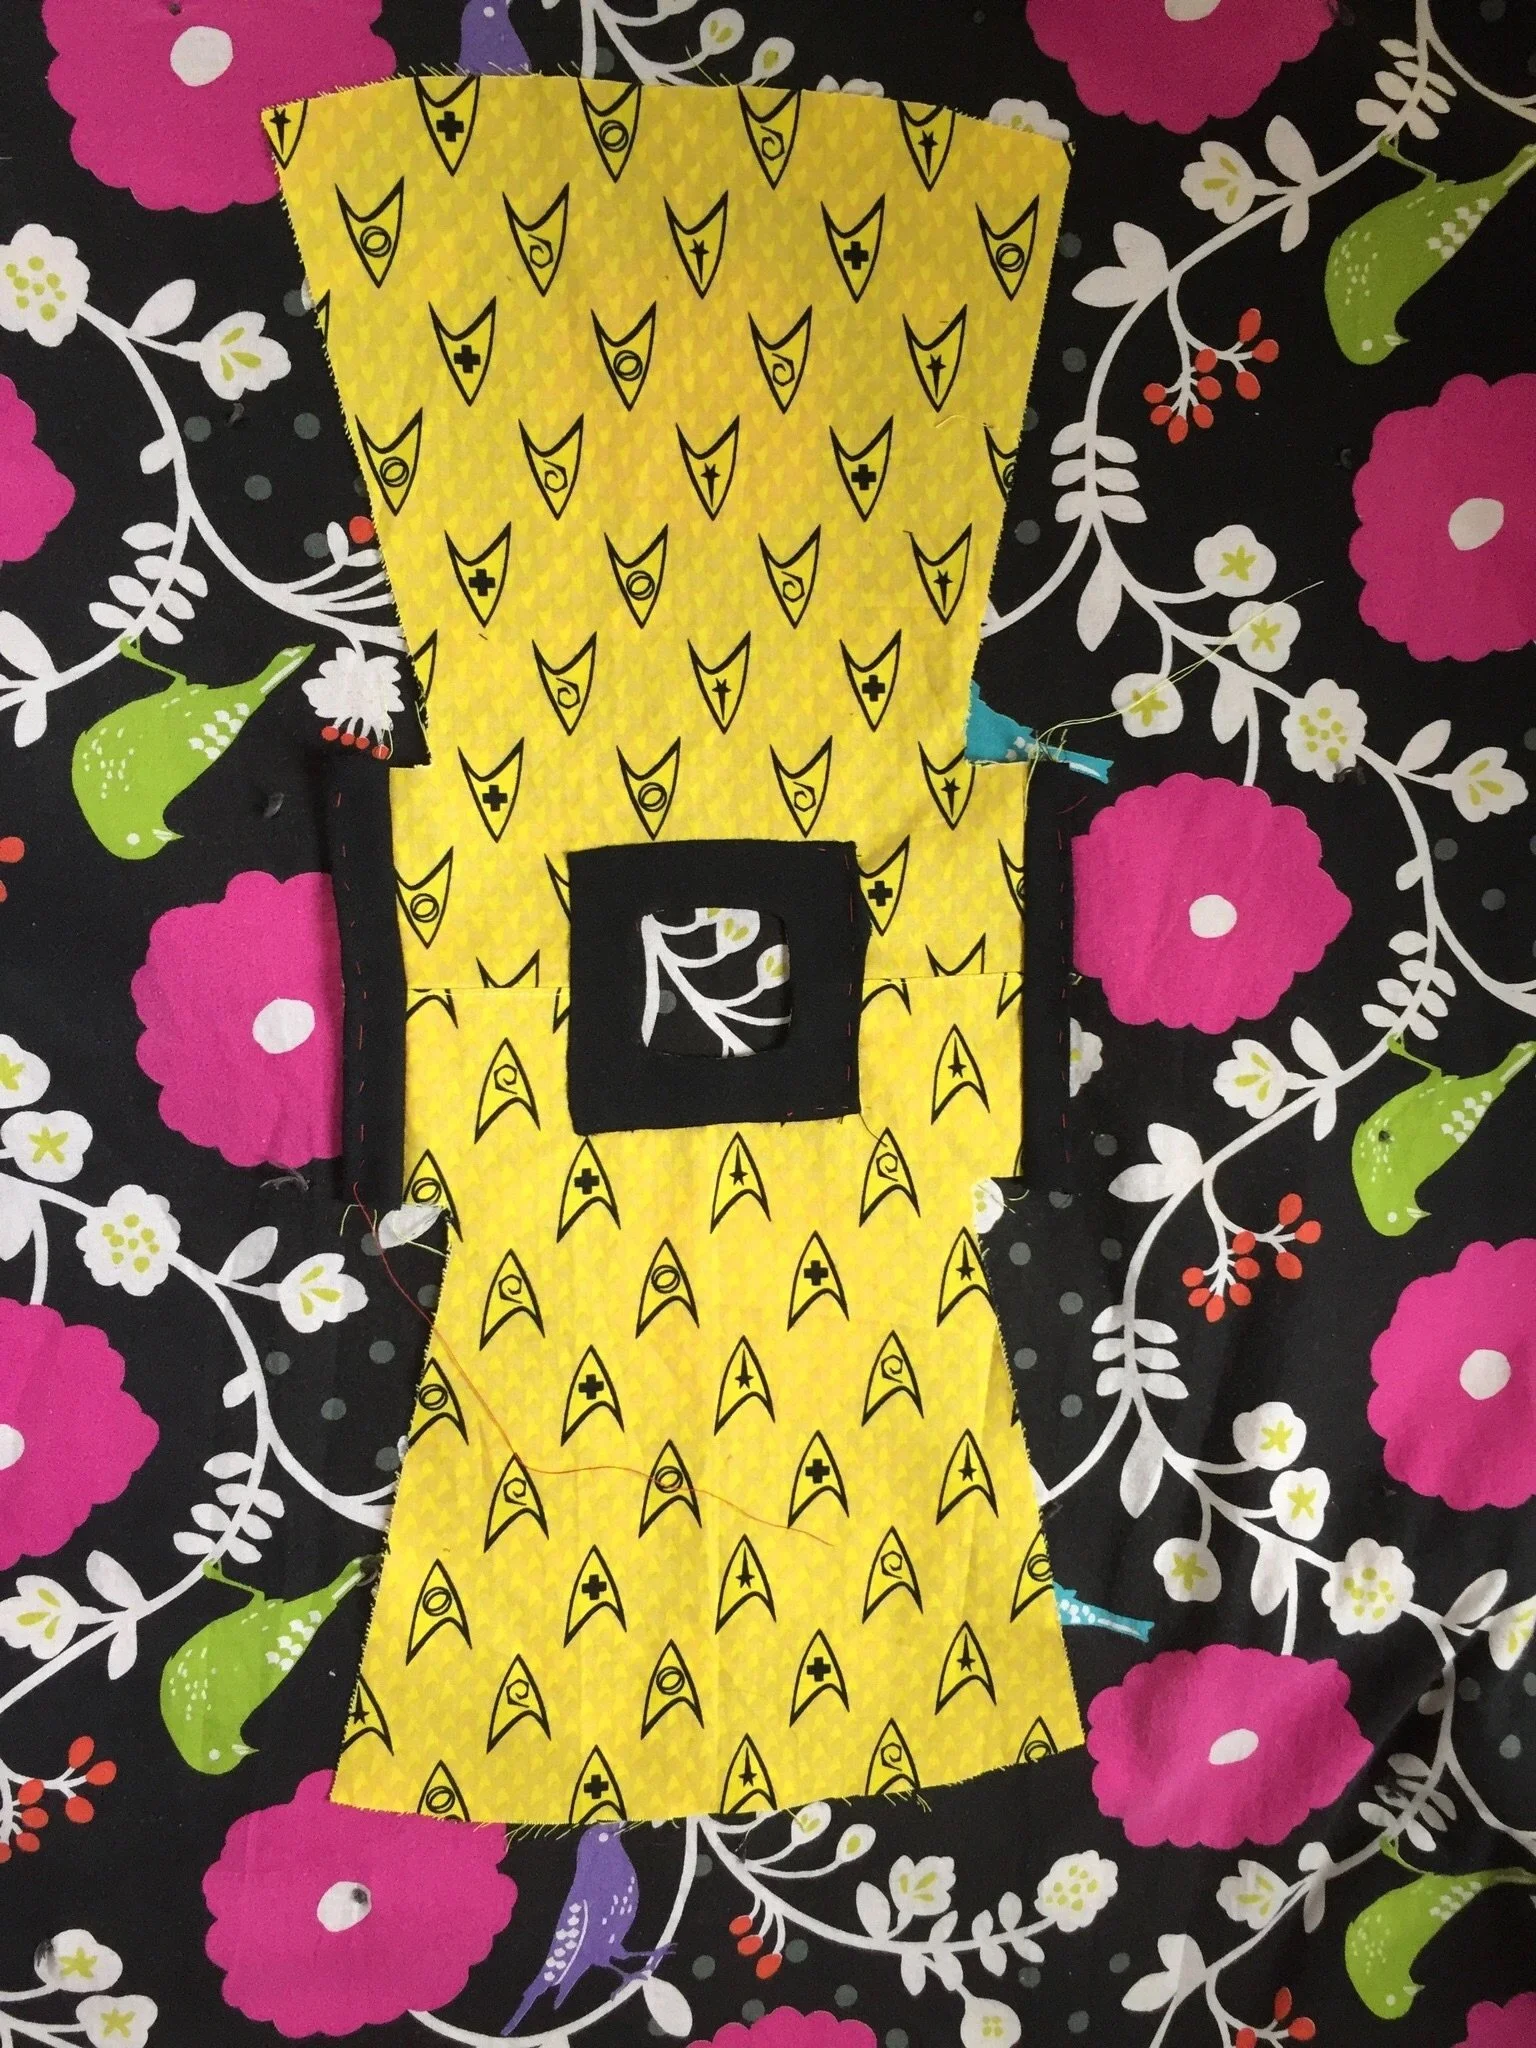
The Star Trek fabric is a fabric with a one-directional design unlike the skeleton fabric which presents a pattern that can be used with either side up. ALL the Mary Frances patterns require you to fold the fabric two times and cut out most of the dress that way, making it unsuitable for one-direction patterns.
Did I notice that right away because I’m smart? Is this mentioned anywhere in the book? NOPE. I have two doll bathrobes with upside-down polar bears from the bathrobe pattern, which I will cover later because it’s its own tale of “making mistakes work.”
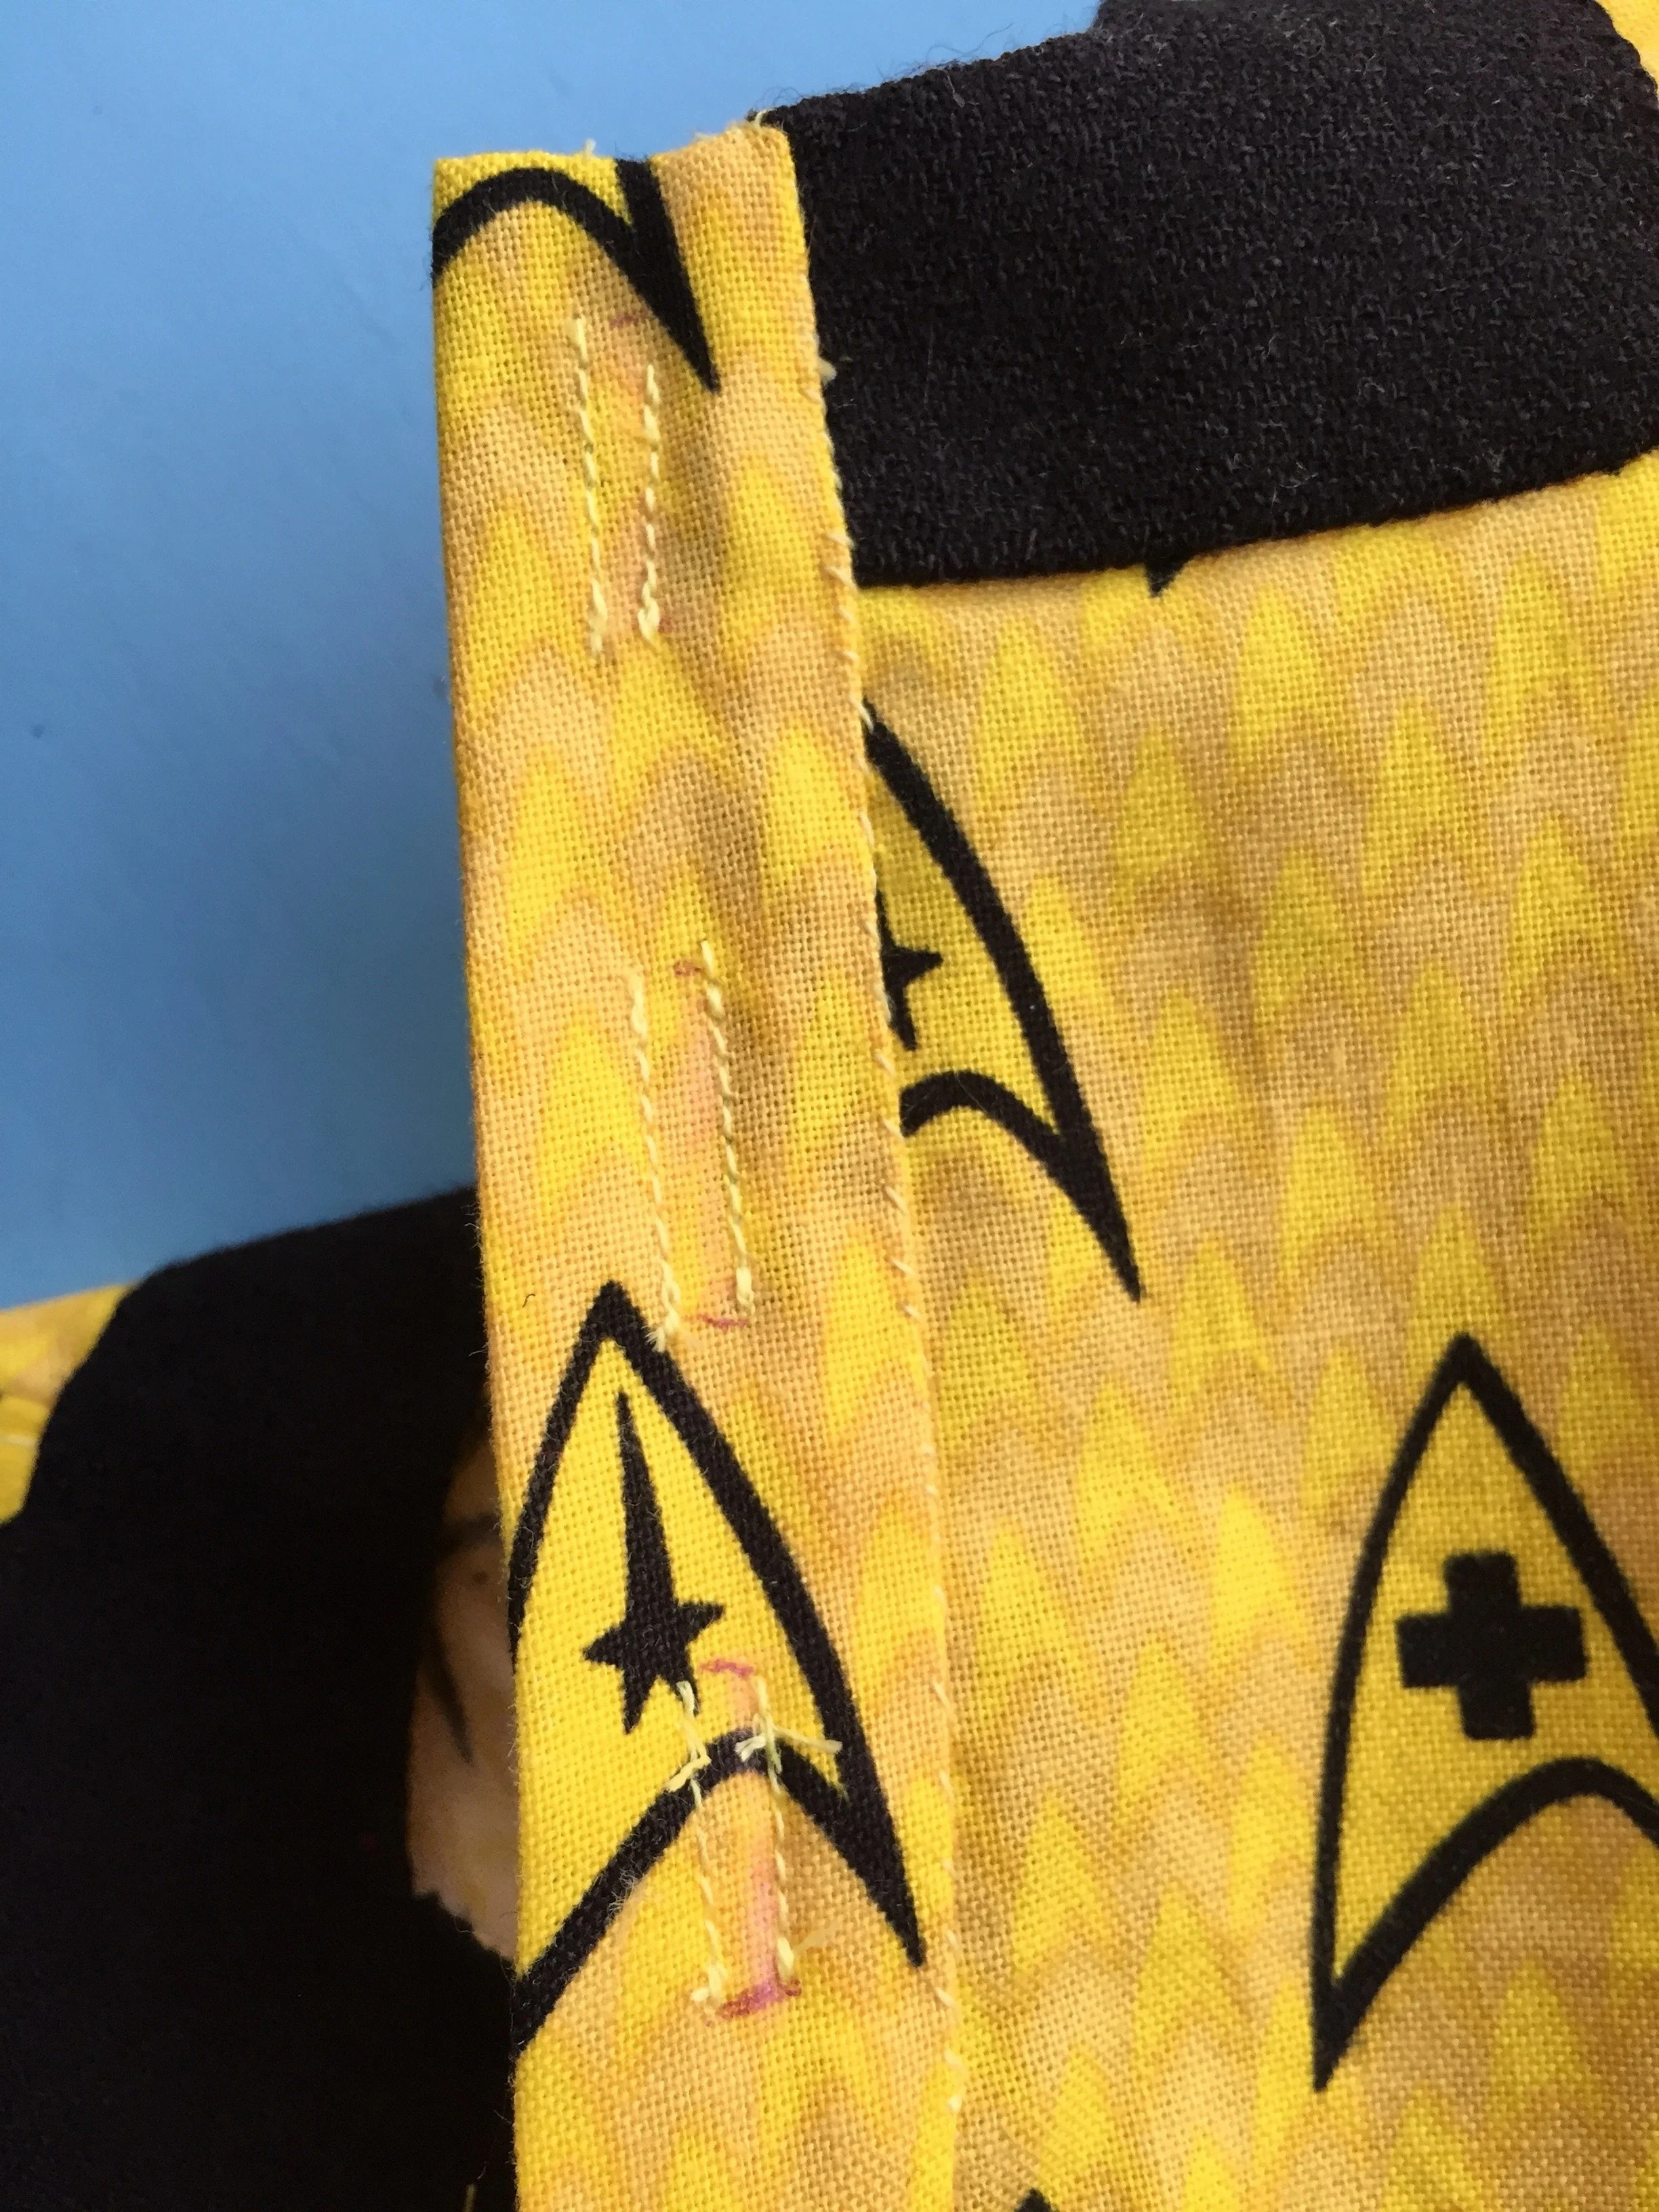
For this dress I joined two pieces of fabric together before cutting to eliminate their being half a dress with upside down insignia. HA! You can’t fool me a third time.


Turn over opening of neck of dress one-eighth inch on right side. Crease, without stretching. Baste.
Turn both edges of neck-band down one-eighth inch, on same side of goods. Crease, without stretching.
Spread the dress open on the table.”“Lay neck-band with turned-in edge against turned-in edge of dress neck. Pin in place. Baste.
Stitch; or, overhand and hem, in place.
The technique here is to fold everything an 1/8 of an inch and stitch it together. I can’t imagine doing this without an iron. Don’t even try this with cheap satin or anything else that is prone to unraveling. This is where fray-check liquid is a godsend (always test fabric) to make sure the tiny cuts you are asked to make don’t unravel.
As you can see I cheated with my machine a little and then BASTED EVERYTHING.
I placed it in my train-sewing bag.
I finished it on my way to the Apple Ginza Store to get my iPhone battery replace.
My local train was stopped for 50 minutes due to “passenger injury” (generally an indication of a suicide on the route)…this is sadly so normal here. I’d had to call into Ginza and explain the delay, because they are strict about appointment times. They hecked the train pages and told me “Yeah, any time you can make it in will be ok…but if you’re stuck for more than an hour and a half you’ll get here when we’re heavily booked and will have to wait a bit.”

5. Make placket by directions given on next page.
This is where things go wobbly:
“You may now fold the dress lengthwise, and from the neck, cut down the middle of the back four inches, which will make the opening large enough for her head —and learn about
34.— Making a Placket, which is the finished opening of a dress or skirt.
1. Cut one piece of cloth like the dress—two inches wide, and as long as the dress opening.
2. Cut another piece one inch wide and as long as the opening. Fold in half the long way, and crease.
3. On the right hand side of the opening, face the raw edge back on the -wrong side with the narrow piece of cloth.
4. On the left hand side, sew the wider piece of cloth, as if for facing,—but after turning in the edge, fold on the creased middle fold, bringing edge exactly over the first sewing.
This piece can be used without folding: then the edge must be hemmed.
There should be two rows of stitching across the bottom of the placket to strengthen it.

This illustration is the ONLY one that accompanies the text.
I need more illustrations. This is true of most of the book. The illustrations in my book have the single color of orange used in them. Sometimes that plate was off in the printing process making the image harder to understand (the orange that is supposed to illustrate the thread stitch hovering slightly above the blank space it’s supposed to be). I’ve seen other people blog the book who say that they quickly learned to ignore the written descriptions and use a combination of the illustrations and googling to make it work. If I were a child in 1915 I would quickly learn to hate sewing if I learned by this book. I think a lot about Arya Stark.
“Sansa can keep her sewing needles, I’ve got a needle of my own.“
―Arya Stark
I managed to make a placket with that description but I have no idea how..and I think the section that’s supposed to fold over is on the wrong side. I’m confused.


I cockily thought “I’ll make the second dress and use a different way of making plackets..and I think I kinda failed there. At least this one has both side of the placket the same width. I think I need to use a continous placket technique. I’d hoped to be all “And here’s a great tutorial for it…” but I’m JUST not there yet.


And this is all legit frustrating because I KNOW I’ve made plackets before for shirts.
I just haven’t done it enough to have it be something my mind fully comprehends.
When I started on the dress placket I thought “Great, I’ll have a way to internalize this skill!” but unlike Basting Everything and making and stitching bias tape on all the things using all the scraps…I’m just not there yet.


See! I’ve made plackets! On button up shirts! I have that skill set…somewhere.
5. Make placket by directions given on next page.Make three button-holes on right hand side. Sew three buttons on left hand side.
6. Join under-arms with French seams.
7. Make a three-quarter inch hem in bottom of dress.
You might notice that the skeleton dress has snaps, not buttons. After the placket I thought “Fuck that!” and just finished it with snaps because I wanted to be able to try it on Snow.


I measured where I wanted buttonholes. I know that buttonholes really require some sort of stabelizer or interfacing to do right but that would have gone in in the placket stage. I couldn’t find where I’d put my fray check either.
I cheated by machine stitching to create some stability.
Each button I did a little bit differently and found it worked best with some threads of embroidery thread outlining the hole to create some depth to the stitches.
I also learned that many online tutorials think a buttonhole stitchand a blanket stitch are the same thing.
This is a blanket stitch. The needle goes in through the fabric and upwards to the raw edge. The thread half loops around the new stitch.

This is a buttonhole stitch. The needle exits the fabric. The thread loops completely around the new stitch making a loose knot.

Finished product.
You may wonder why I choose light green buttons when black or yellow buttons would work better.
I didn't have any.
I'm trying to do a No-Buy November.
Groceries, bills, transport will be paid for as usual...but nothing extra. I'm fairly sure this will make for odder and odder stash busting choices as I move forward.

Snow chilling.
And now I’m back to doing something I need to do. Putting together a few new items for a (dance) student show. I’m throwing together a Turkish vest from scrap fabric that used to be too-small-for-me harem pants given to me with a stash of costuming fabrics as a “see what you can do with it.” I am literally stitching patches as I go because the fabric isn’t the right size in any directions. I hope it will be good enough for stage.

Now to return to...basting ALL THE THINGS.
Ta ta for now!