Chapter XIX: Her Bath Robe
Mistakes were made…by me.
Then I made some new ones.
Sometimes you just have go deeper into some mistakes to salvage the whole.

“IF only in her nightie clad, She took a cold, 'twould be too bad — And so the dear child may not freeze, And so the dear child may not sneeze, A nice warm bath robe next will be Our lesson finished—"
Sewing Bird stopped singing.
''Brought to she," interrupted the tinkling voice of Silver Thimble.
''Silv Thimble!" exclaimed Sewing Bird, ''when I need help, I'll call upon you—”
Silver Thimble, don’t come for Sewing Bird, she didn’t call for you. Just shush.

The bath robe uses the same base pattern but with a smaller neck hole. The front of the robe is then slit down the front and the transition from the front opening and neck hole is smoothed out.

The robe doesn’t use a french seam… which is where I made my first mistake. Instead of the French seam the fabric is stitched and the raw edges are finished with an overcast stitch or blanket stitch that acts like a serger stitch.
Nowhere in the directions does it mention if that seam is supposed to be on the inside of the garment (made with the right sides of the fabric together) or on the outside. I thought that an exposed seam might make the robe seem cuddly and rustic so I figured it must mean an exposed seam.
Then I did it and it just didn’t look right.

I looked up the very few examples of Mary Frances Sewing finished patterns online.

From bybido (Blog no longer public)

From Bisque Beauties http://bisquebeauties.com/maryfrances.htm
Nope, no exposed seams.
I decided to continue on but to make adjustments to the the robe so that it would look deliberately distressed and comfy.
The edges of the openings are supposed to be finished with a folded over ribbon. I didn’t have ribbon on hand but wouldn’t have used it anyways. You see, when it comes to fitting around the curve of the neck a ribbon wouldn’t have the flexibility of bias tape (fabric cut on the bias) and would be somewhat of a pain-in-the-arse.


So, I made bias tape from a second polar-bear printed fabric instead and used that to finish the raw edges.
I then, for the rustic look, I made bias tape of the base fabric, folded it in half with the raw edges exposed, distressed the edges and stitched it next to the lighter colored bias tape… and cross stitched over it.

The Mary Frances book then has a bunch of steps I skipped but will return to for a future fastener.
Hook and Eyelet. I didn’t do this because I liked the look of a wider fabric sash:


Making a robe closure from embroidery thread (zephyr yarn?!)..didn’t look cozy.
Adding hanging tags to the inside of the garment (which seemed like a lesson more about sewing human garments in general than doll garments…useful but not here):


This is how my distressed robe turned out.

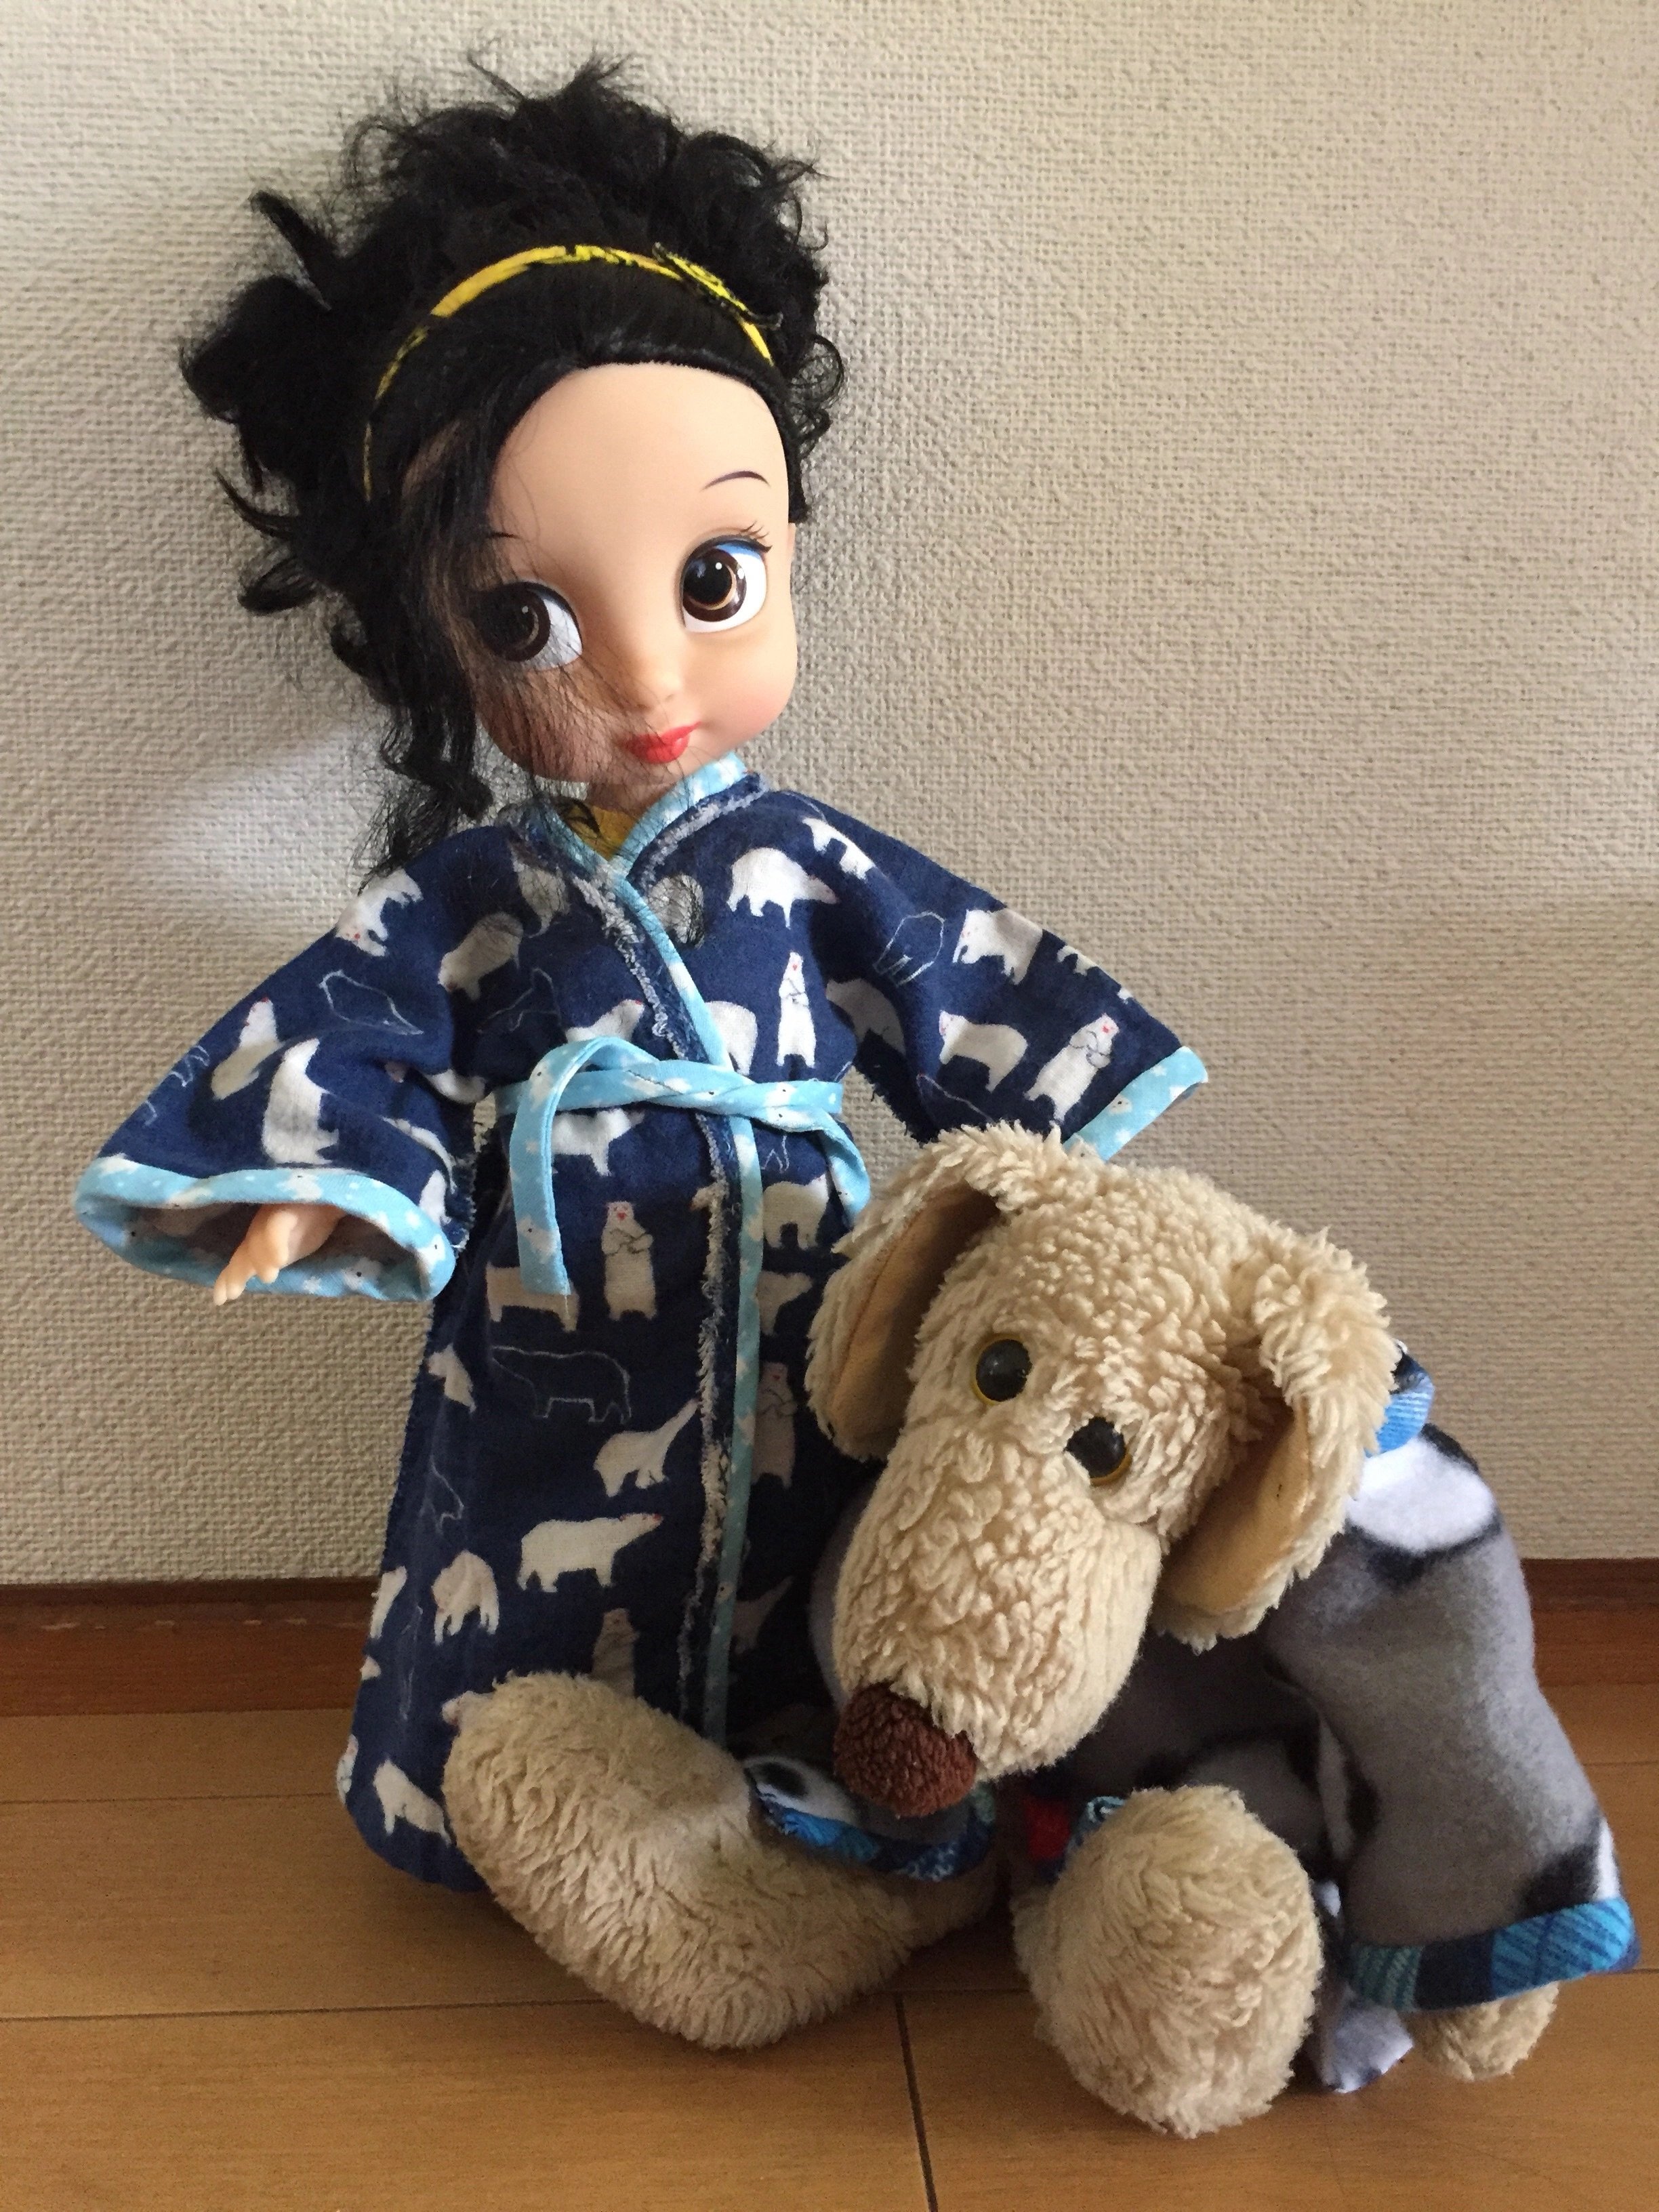

Then I set about making it correctly.
I keep mentioning that these sewing patterns require fabric that doesn’t have a one-direction pattern, right? If you do use a one-directional pattern you’ll need to join two pieces together so that the back and front of the outfit have everything right-side up.
I forgot this.
I must not have noticed that the frayed-version had upside-down polar bears on the back.
Yes, on my second robe all the seams are covered and, yet, the polar bears are UPSIDE DOWN on the front. A friend comforted me by saying something like “there are no upside-down polar bears, only polar bears standing on their heads and rolling in the snow” and I’m going to go with that.

EHOLD! FROLICING POLAR BEARS.
Maybe I'll make a third robe, when no-buy November ends.Soon to come: A Presentation Party!