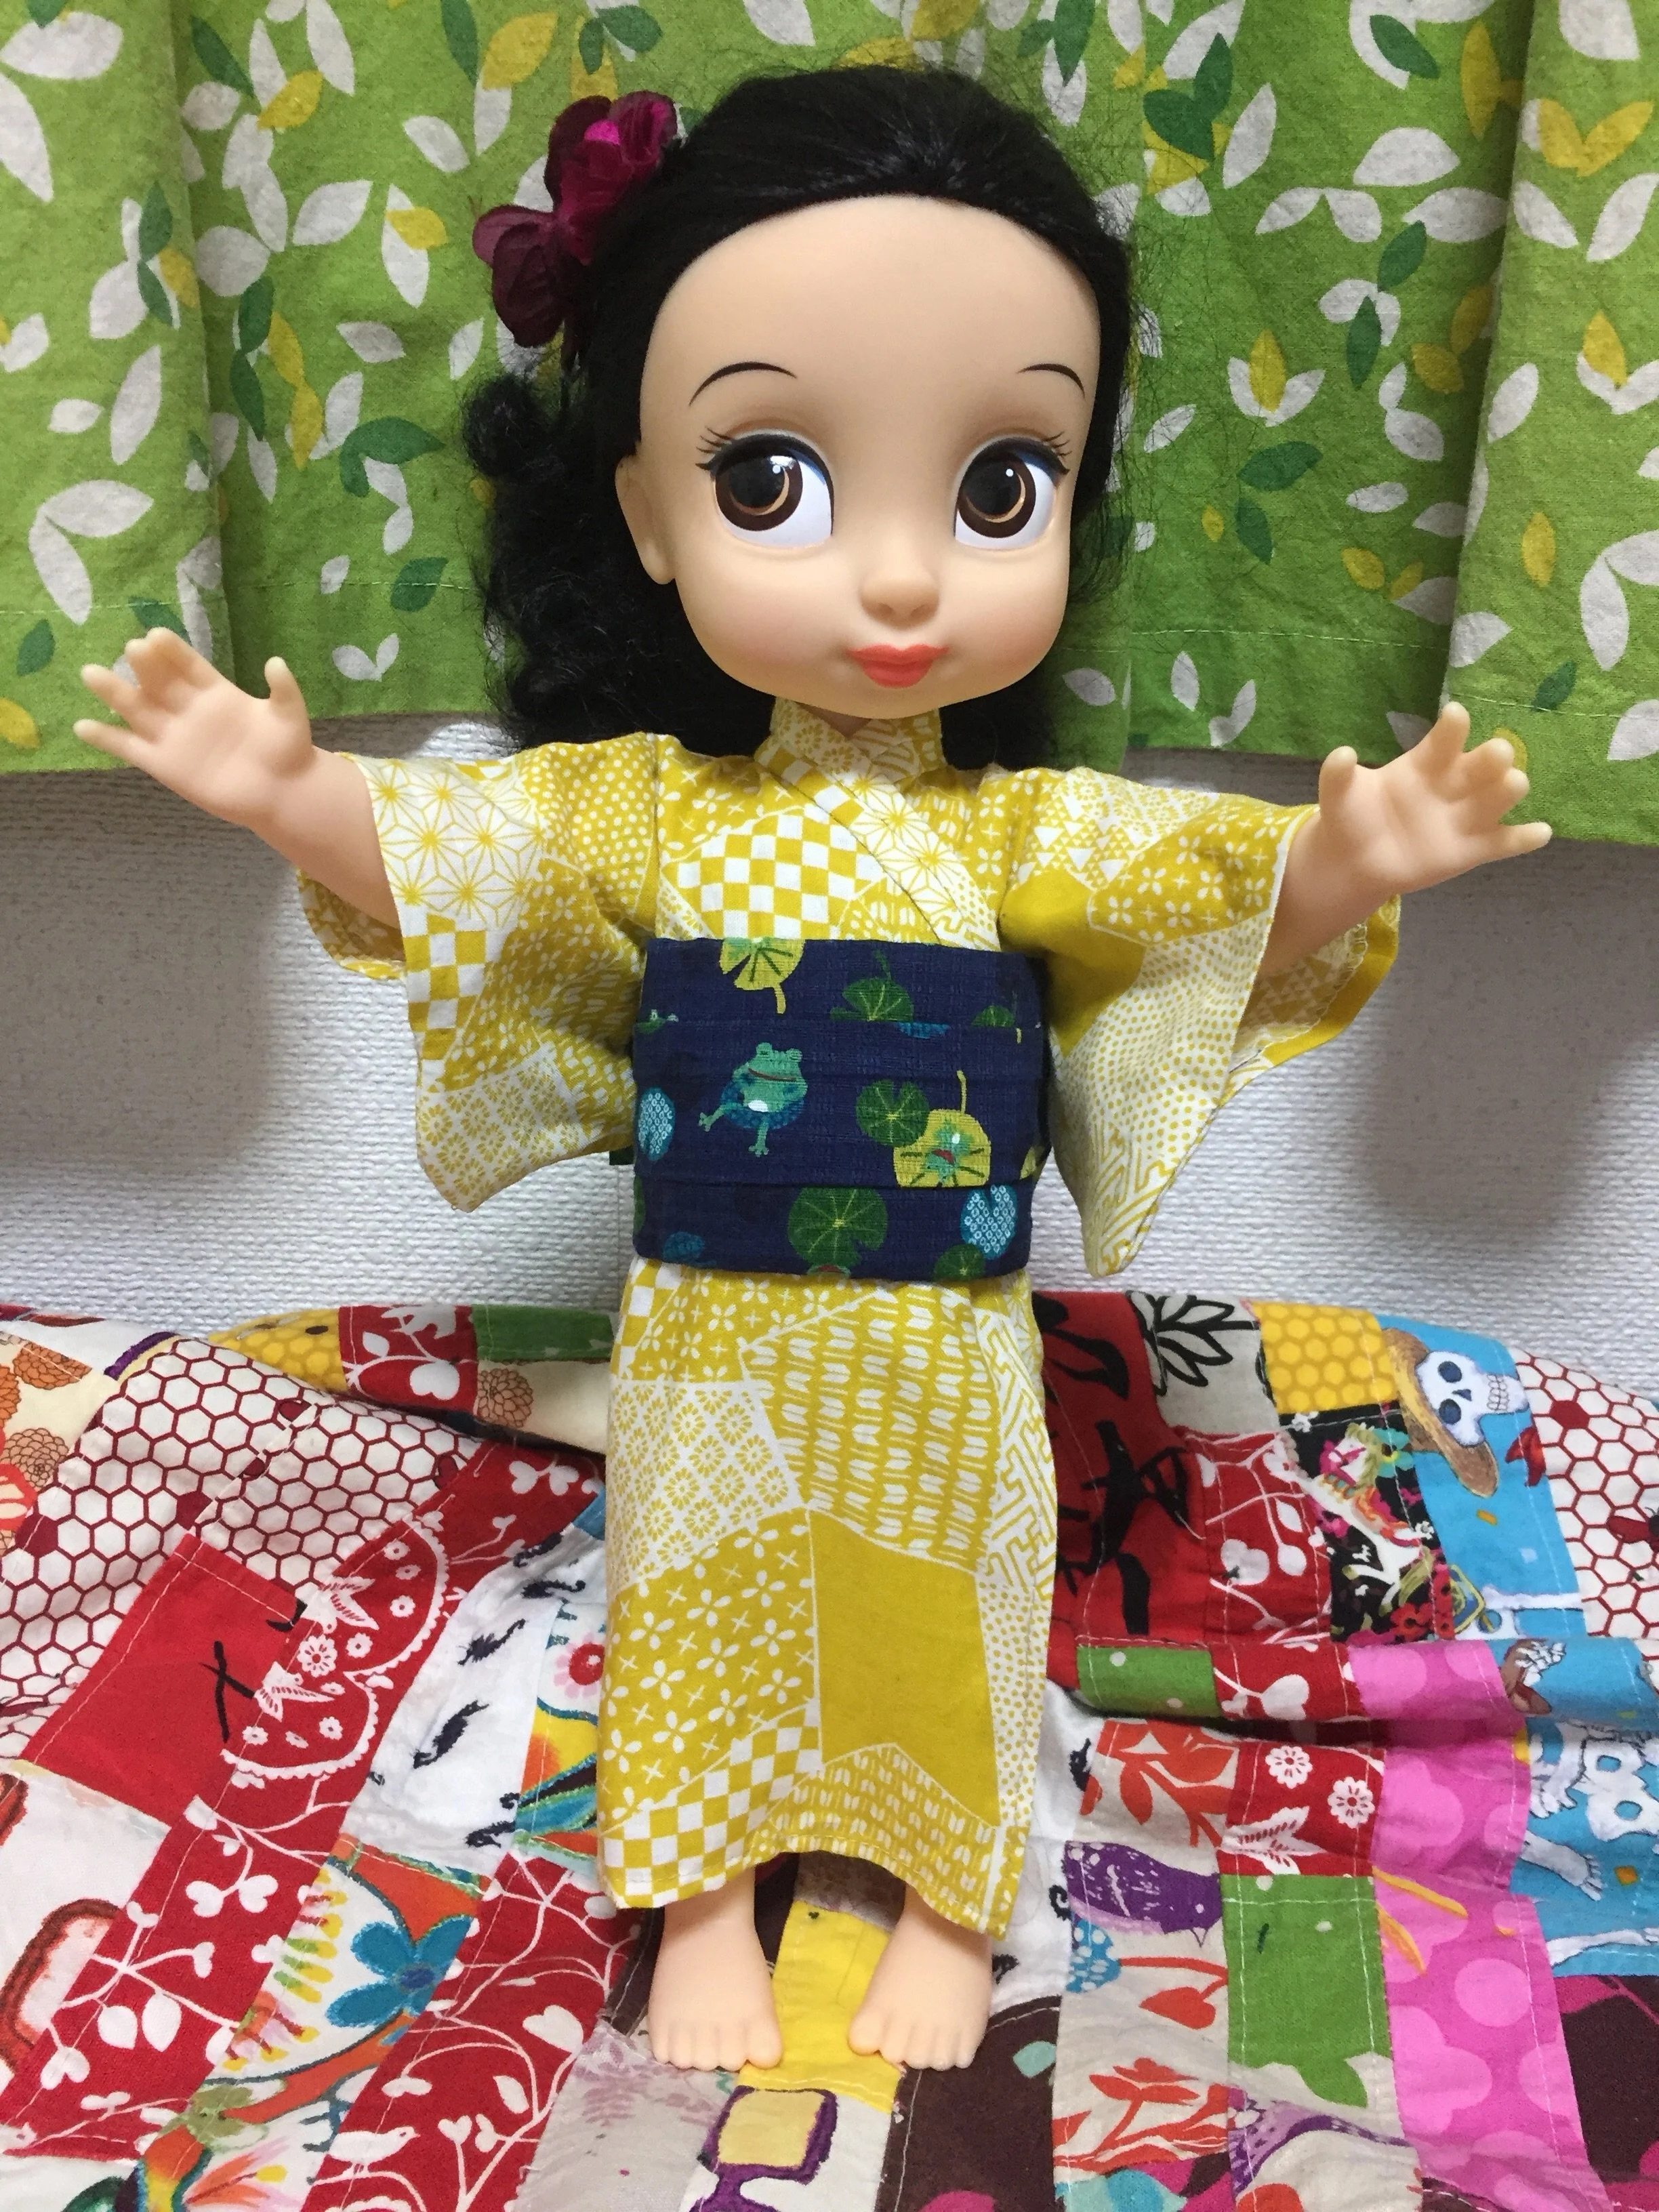
Obi Sash Tutorial.
Now we're going to make an obi sash for the yukata.


22cm x 12cm fabric for bow
3cm x 6cm fabric for bow center
32cm x 15cm fabric for body.
Fuseable batting 28cm x 5.5cm.

Obi Body
With a 2cm margin on the sides and a 4.5cm margin from the top and bottom, fuse batting to the inside of the sash.


Press one wide edge in 1cm.
Fold unpressed wide edge over batting.
Fold pressed wide edge over batting.
Whip stitch these folds together so there are no stitches showing on the other side.


At each end of the sash fold over the edge one cm
press
fold again
machine or handstitch in place.
Obi Bow


Fold longer bow fabric length wise, right sides of the fabric together, and stitch the length 1cm from the edge.
Press seam open.
turn fabric right side out and press.

Fold the edges of the bow so they overlap slightly at the back.
Baste stitch them together.
Using strong thread, stitch the bow so the center draws together (not shown) into a bow-shape.
Take the smallest piece of fabric you have left, fold the edges back and use to secure the center of the bow (also…not shown. sorry)

Hand stitch bow to the obi.

Try the obi on and mark the overlap. I marked with pins and then used chalk.
At this point sew on the fasteners of your choice.
I did my first two obi with velcro/magic tape closures and this one with hooks and eyes.
I don’t like velcro much but figured it’s a solid choice for kids with still-wobbly hand-eye co-ordination. For very young kids I’d use velcro AND whip stitch the obi to the yukata so it acts as a complete garment (with no risk of loosing the sash) . If I do that I’d use a thread color I can somewhat see from the inside of the garment so the parent could always make it two garments later and have mix+matching choices yukata/obi choices.


As a bonus here are the other obi I made .


This was my first. I added the second layer of fabric for decorative purposes after it was completed…which is why it’s a little wobbly. I could remove the bow, straighten the extra layer of fabric, and re-stitch the bow on… it but it doesn’t bother me that much when it’s on.


On the second I added stitched pleates before the fusable batting. It also has two small darts because the wider obi (6cm) wouldn’t lay flat on Snow’s tummy without them.


Huzzah! This completes my need to make a doll kimono after making the Mary Frances "Kimono" robe.
I'm not saying there won't be other detours but it's back to Mary Frances and the Thimble People after this.