Re-lining a Coat: part 3
When we left off I’d sewn the lining and interlining.
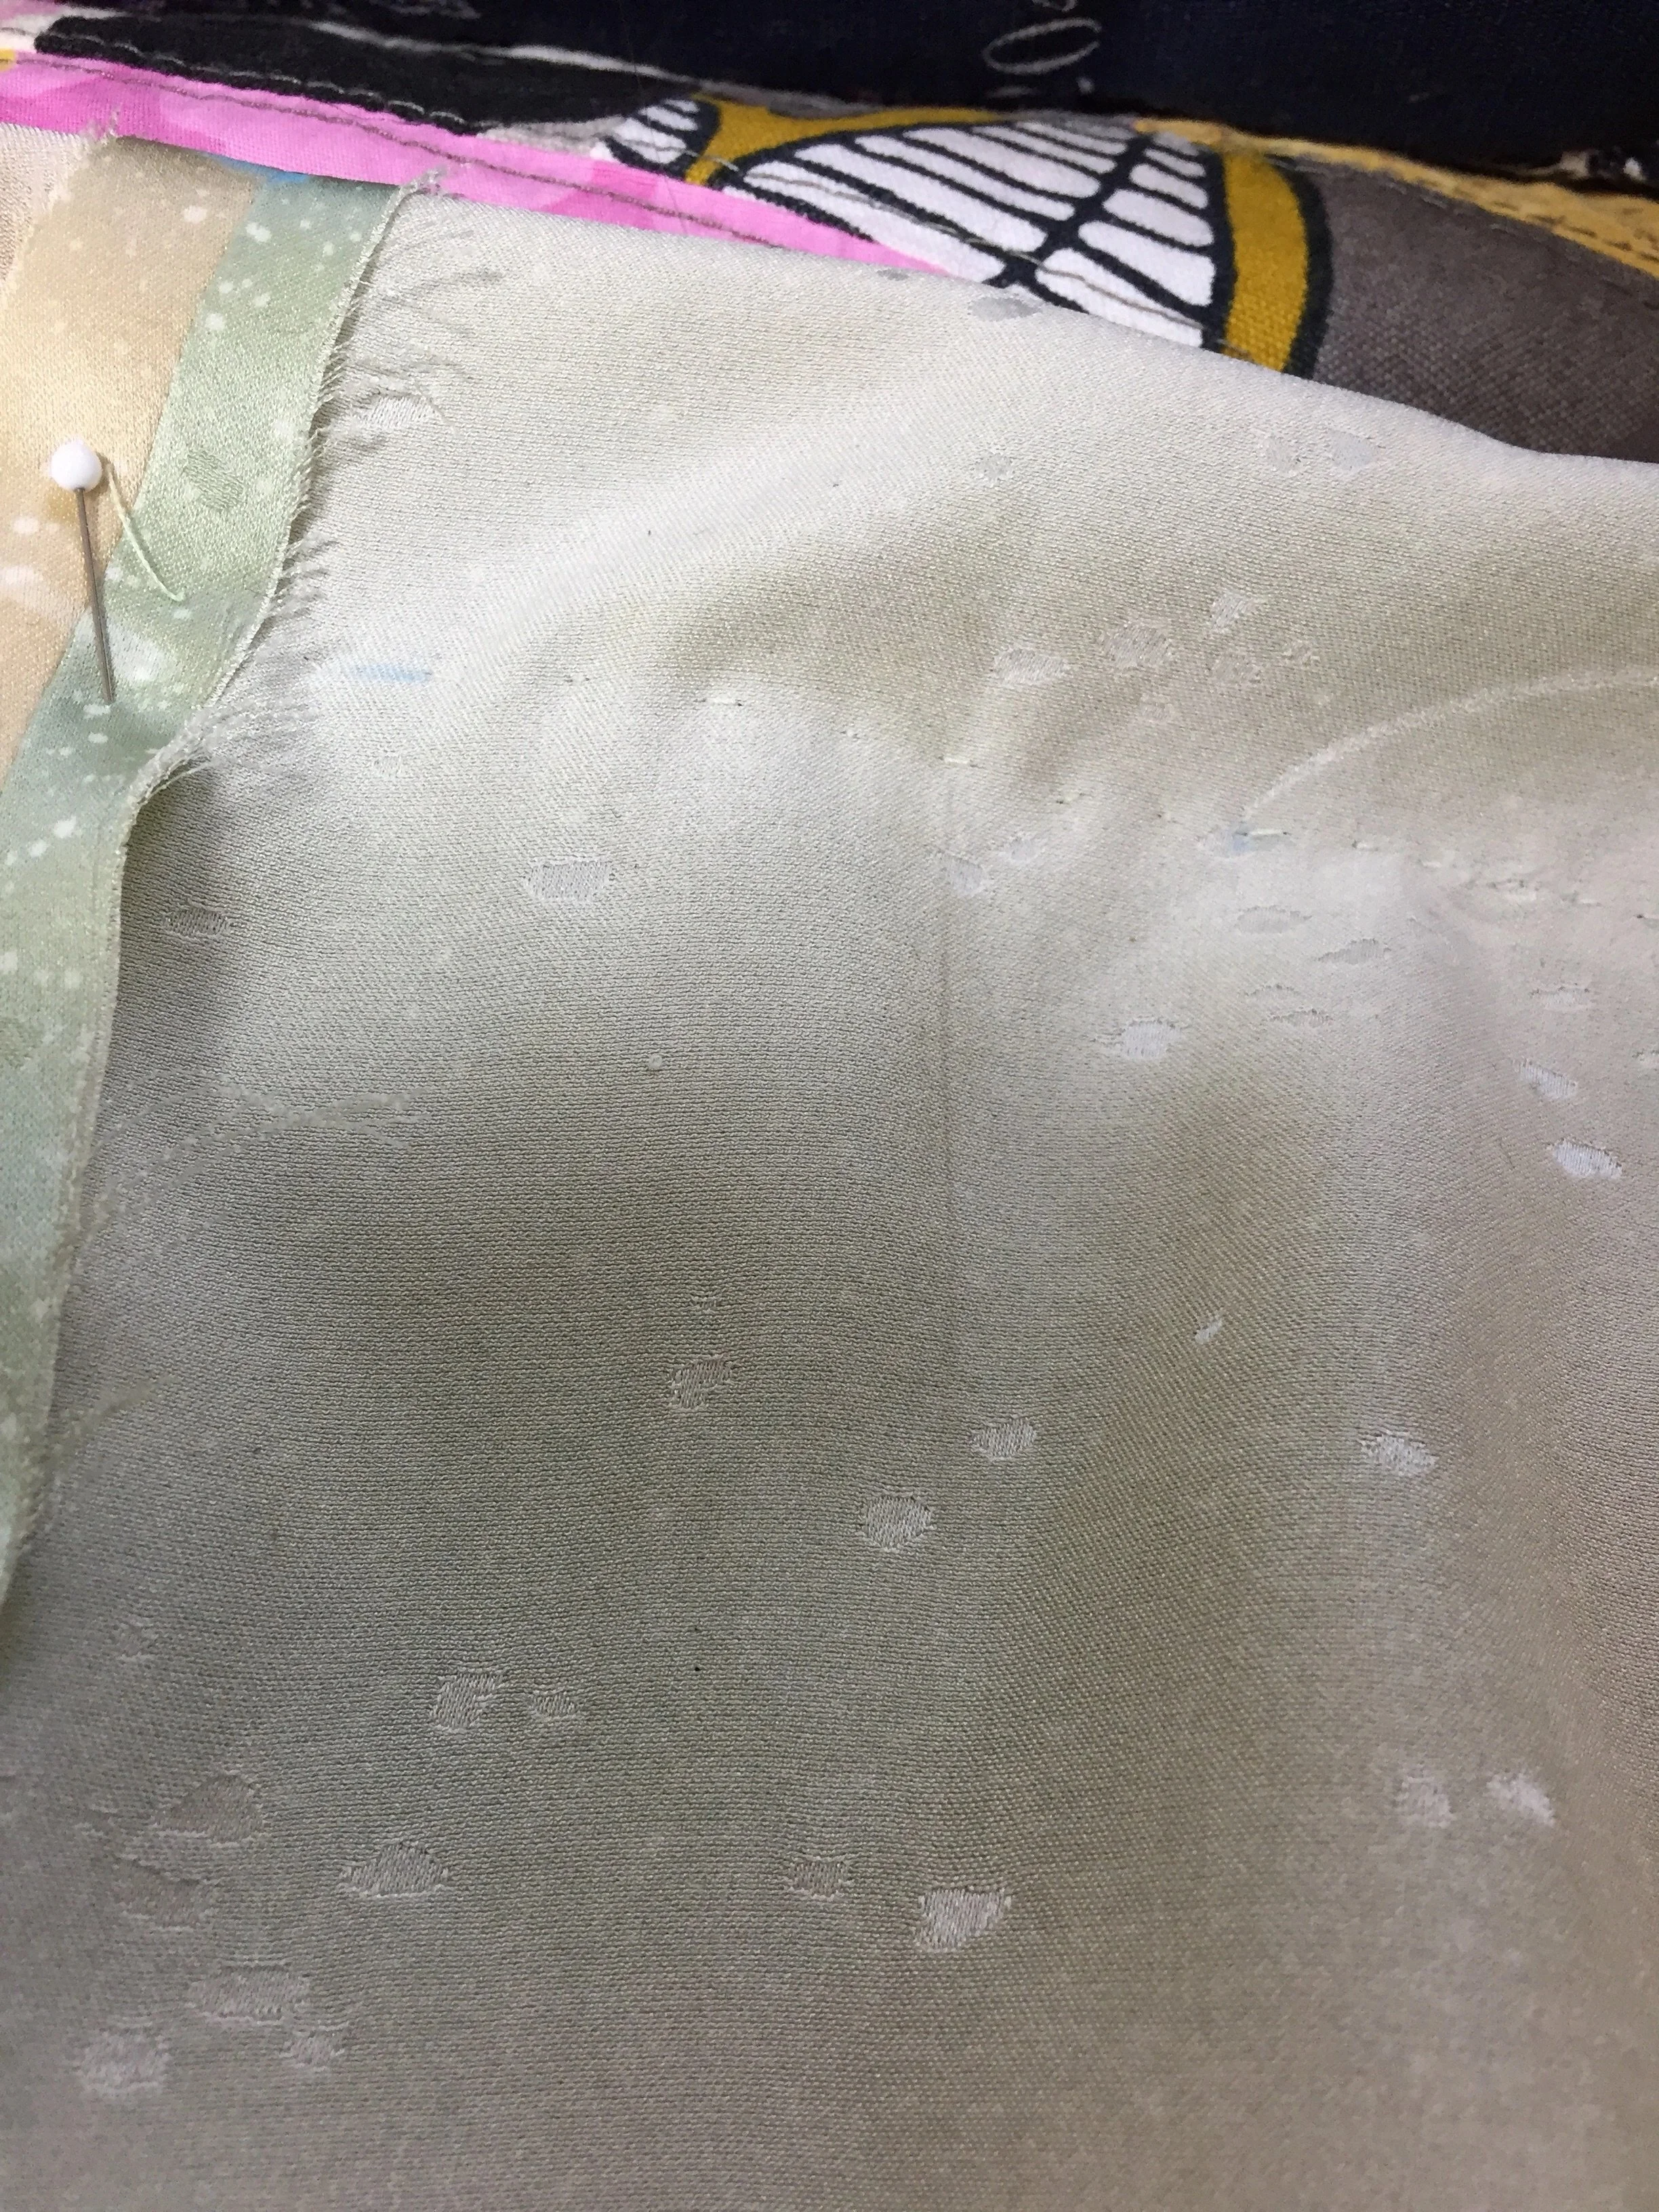
The next step is bagging the lining. I wish I could easily explain this. When constructing the lining you leave one section of a side seam-open so you can eventually pull the whole coat through it.
Here is a Pintrest page I made to pin “How to bag a lining” tutorials.
You keep the coat right-side out and put the in-side out lining over that, so that the right-side of the lining is against the right side of the jacket fabric.
Then you sew allll around that edge.

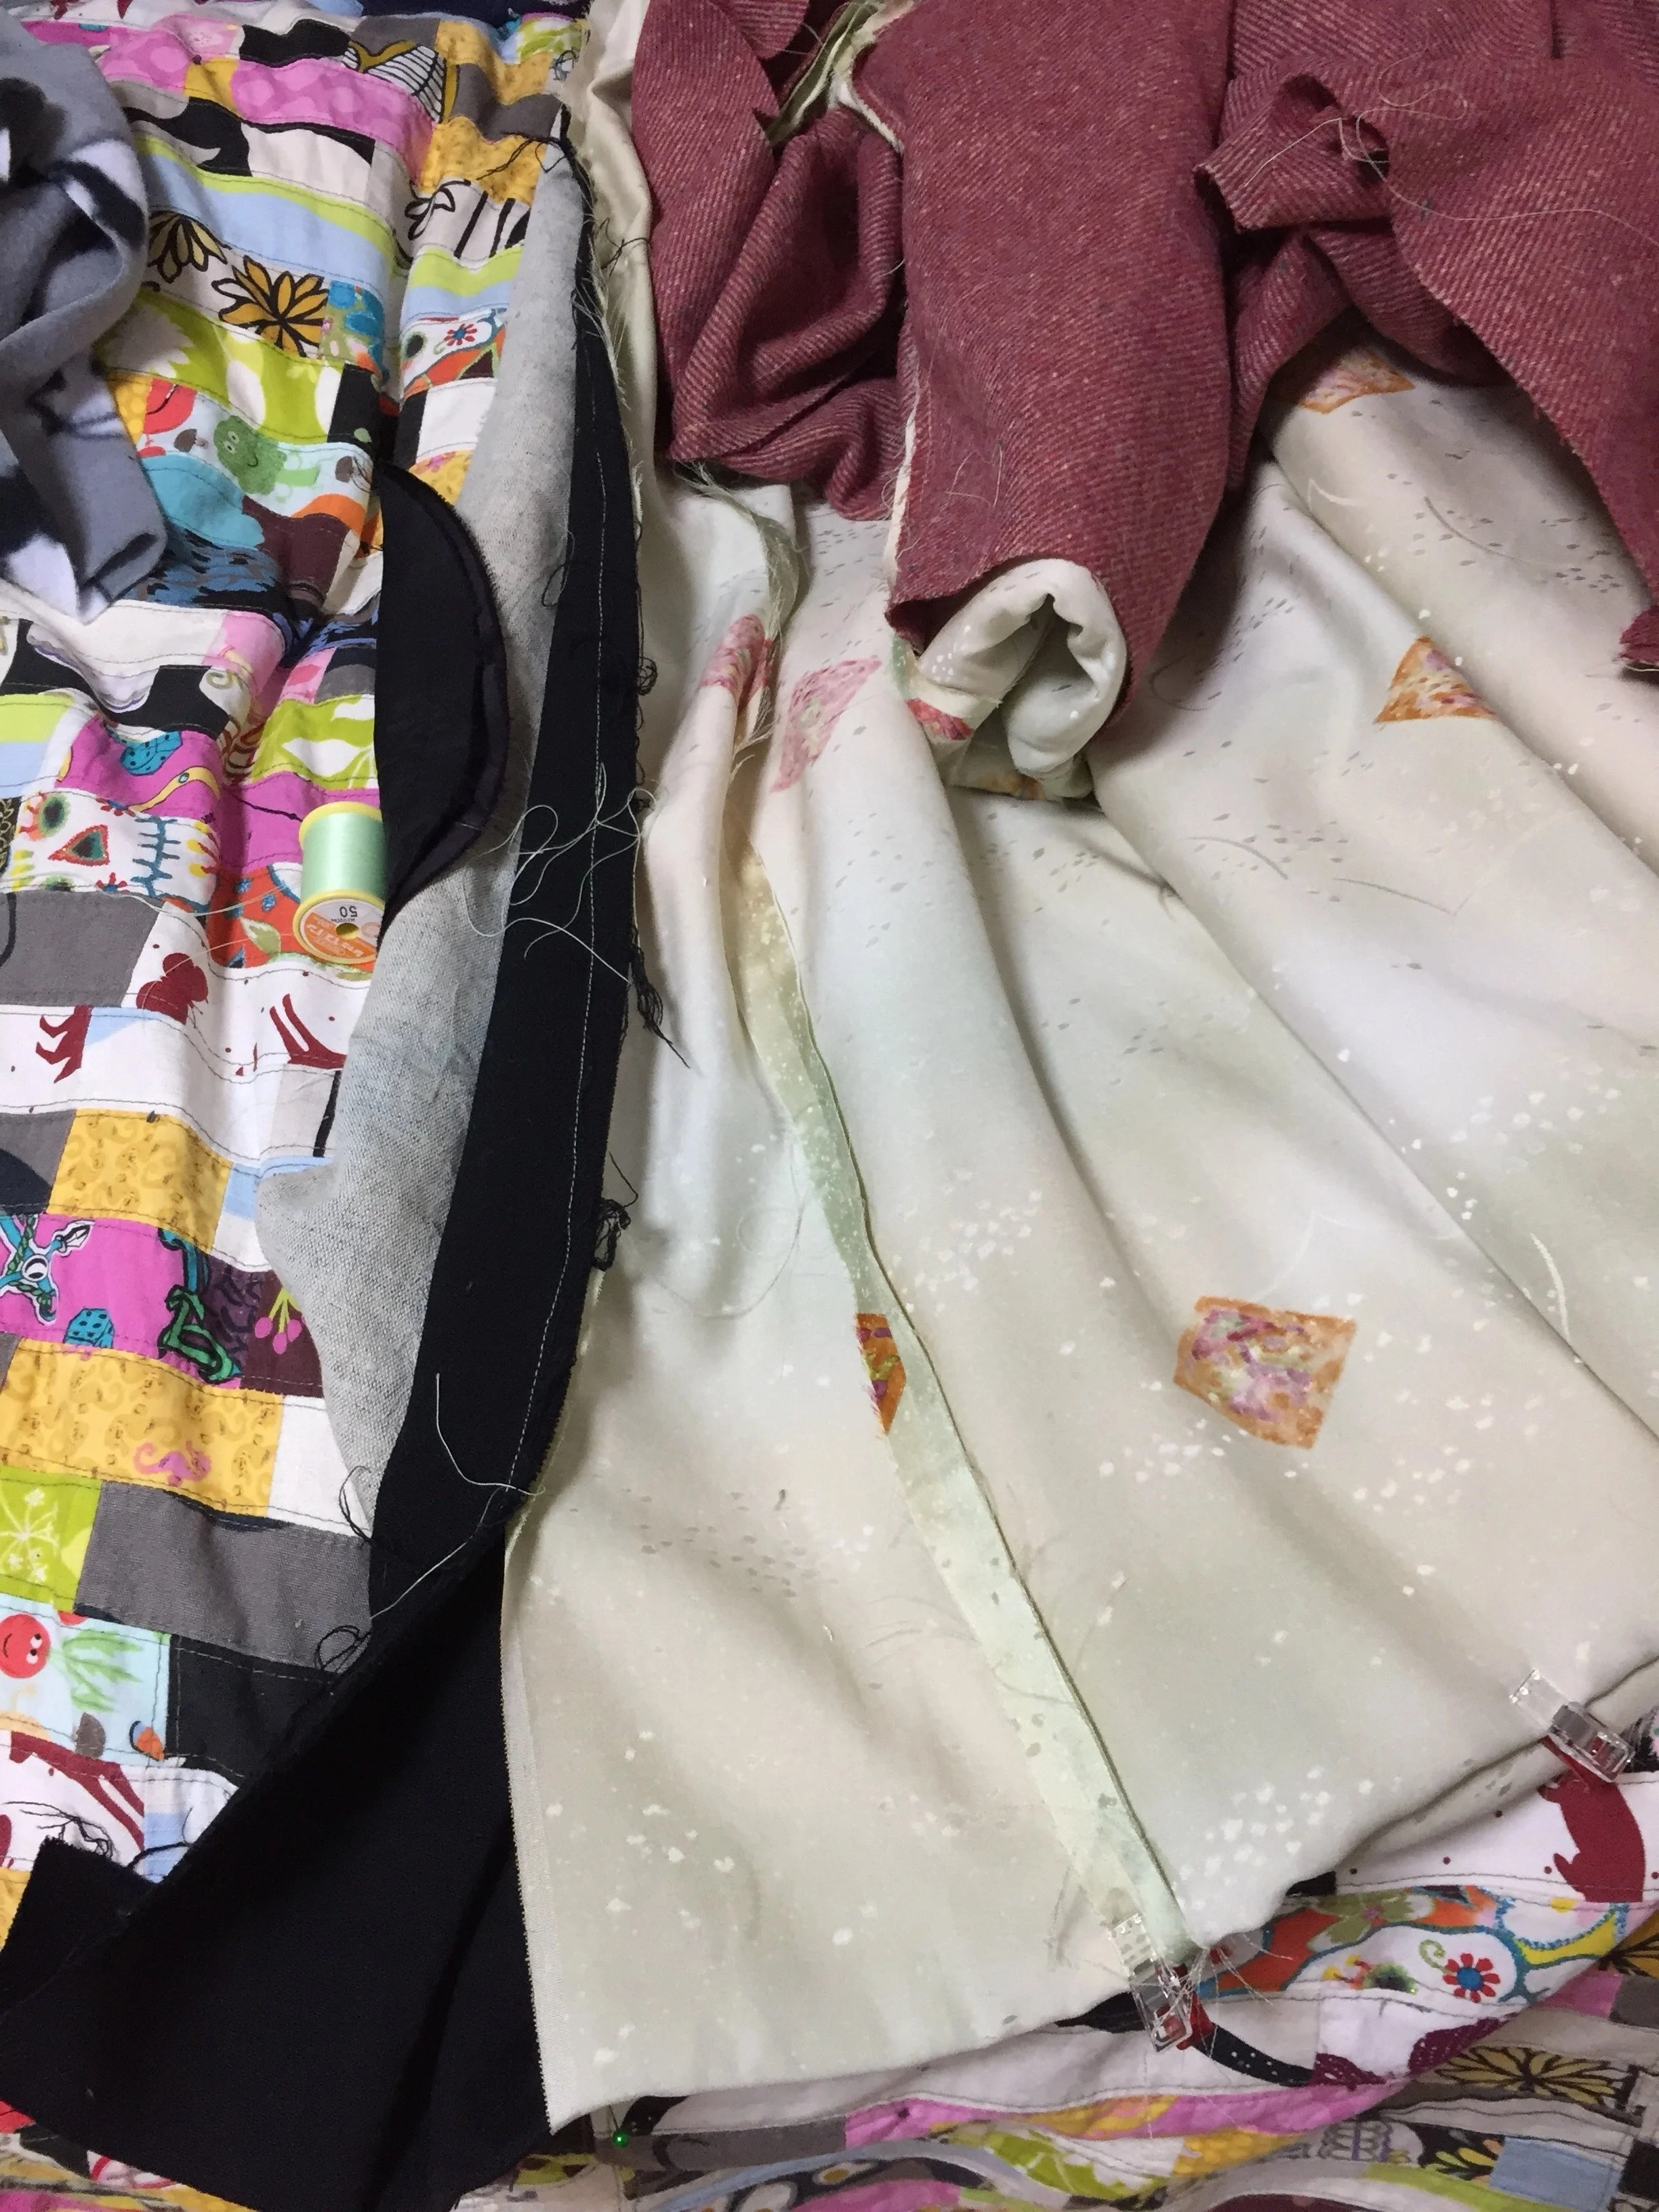
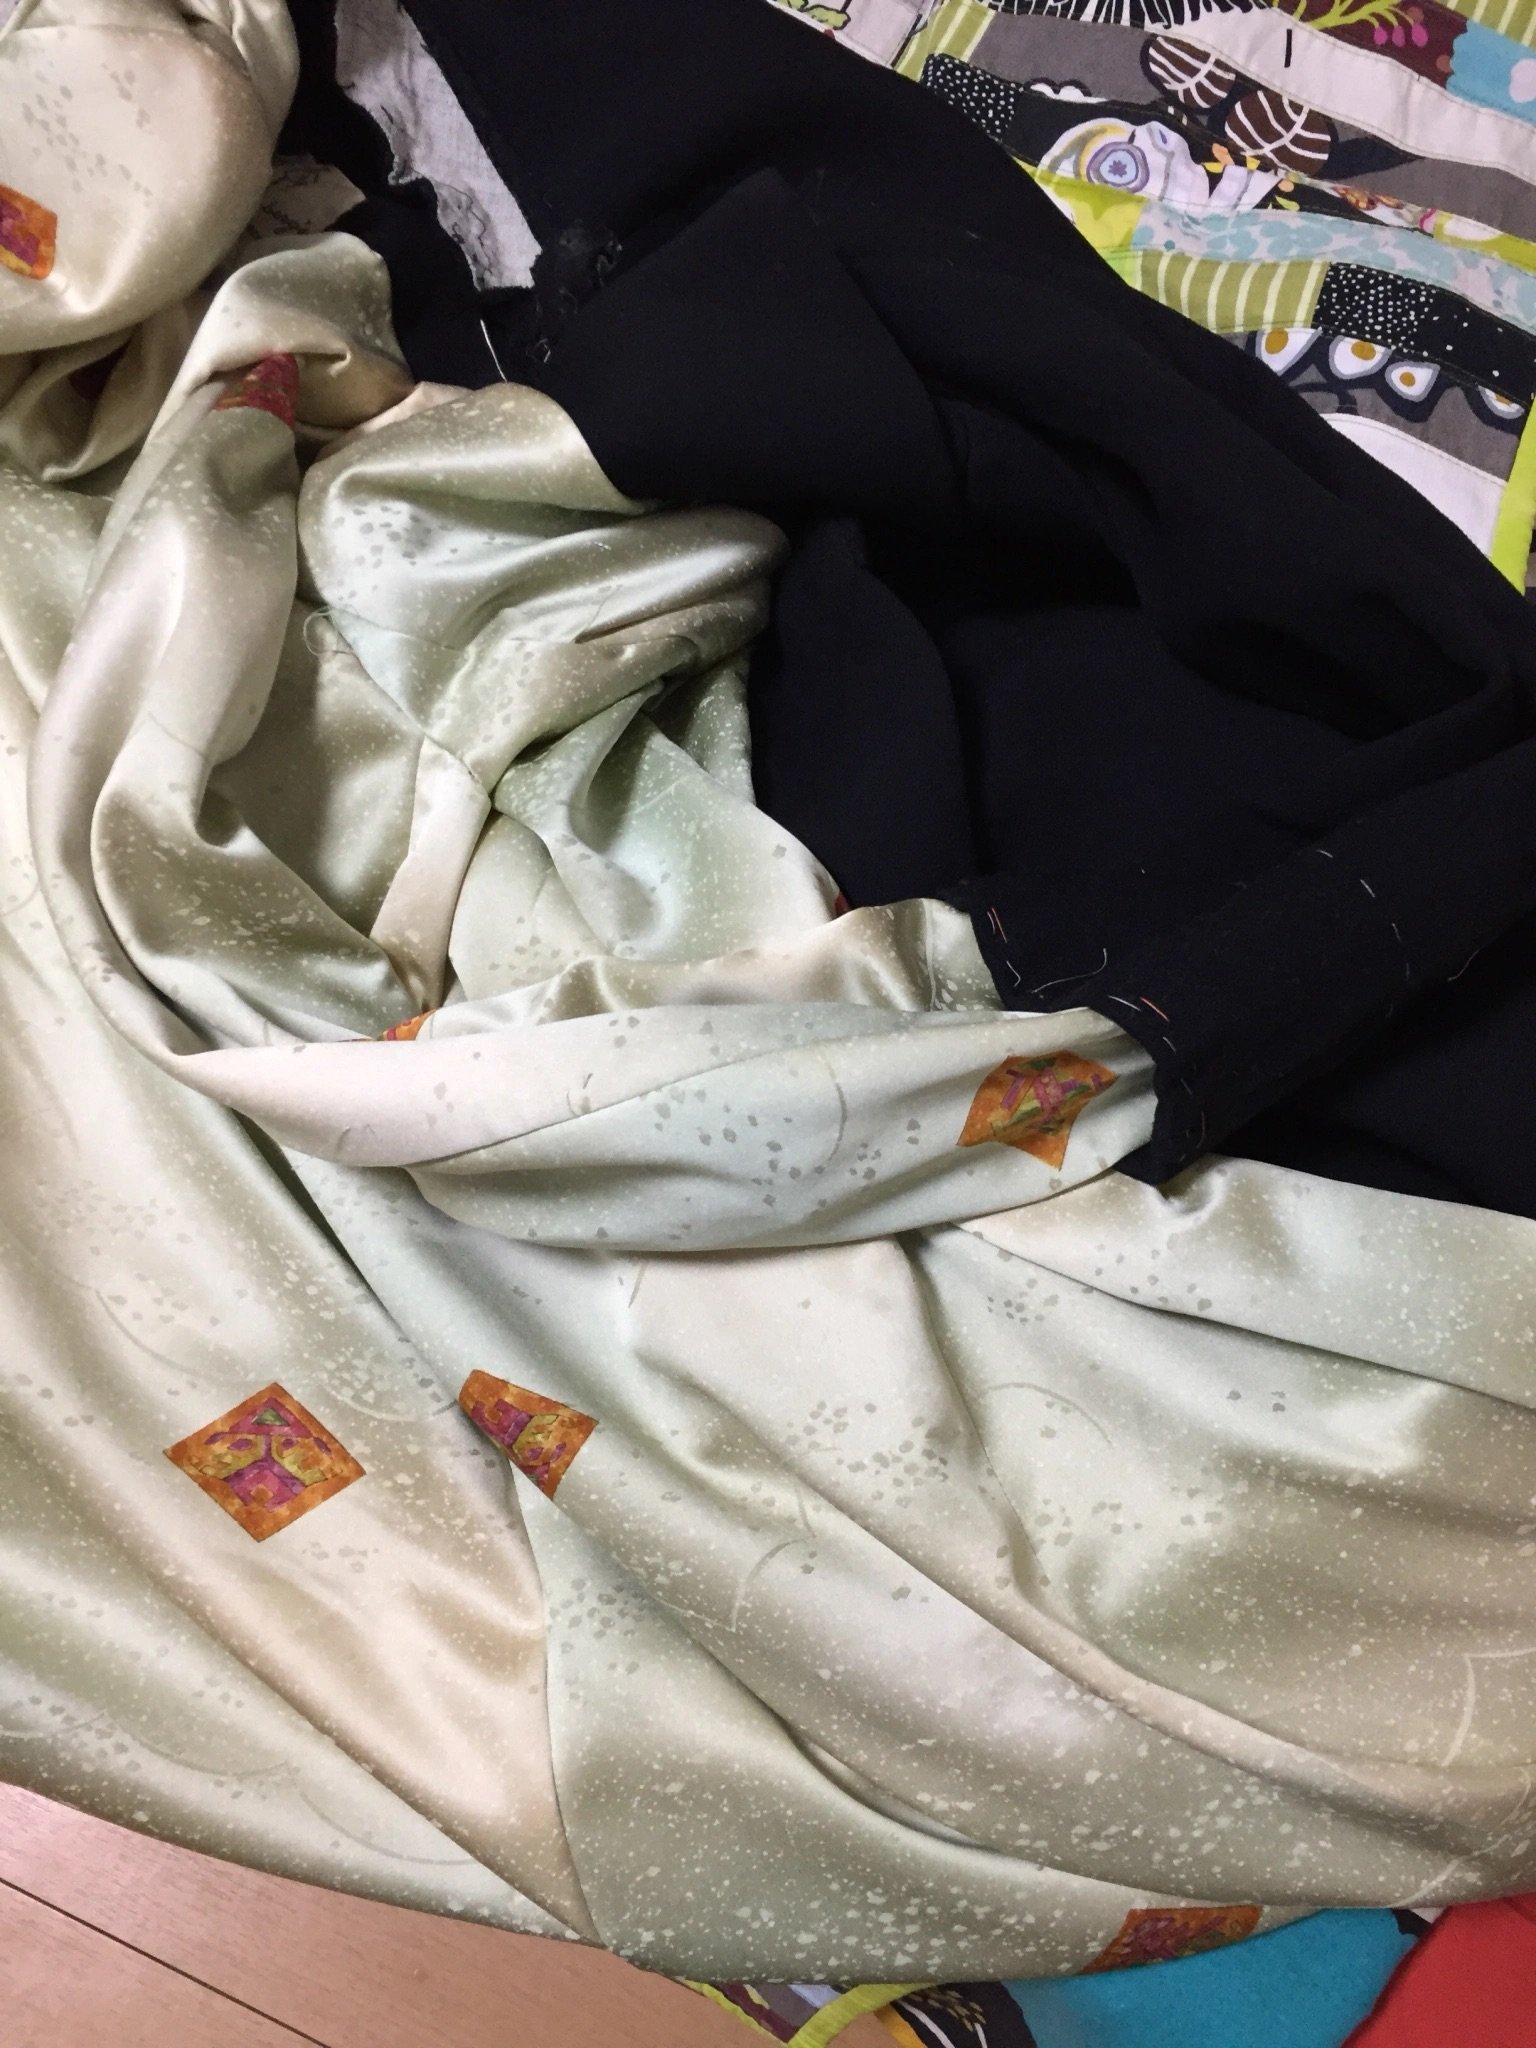
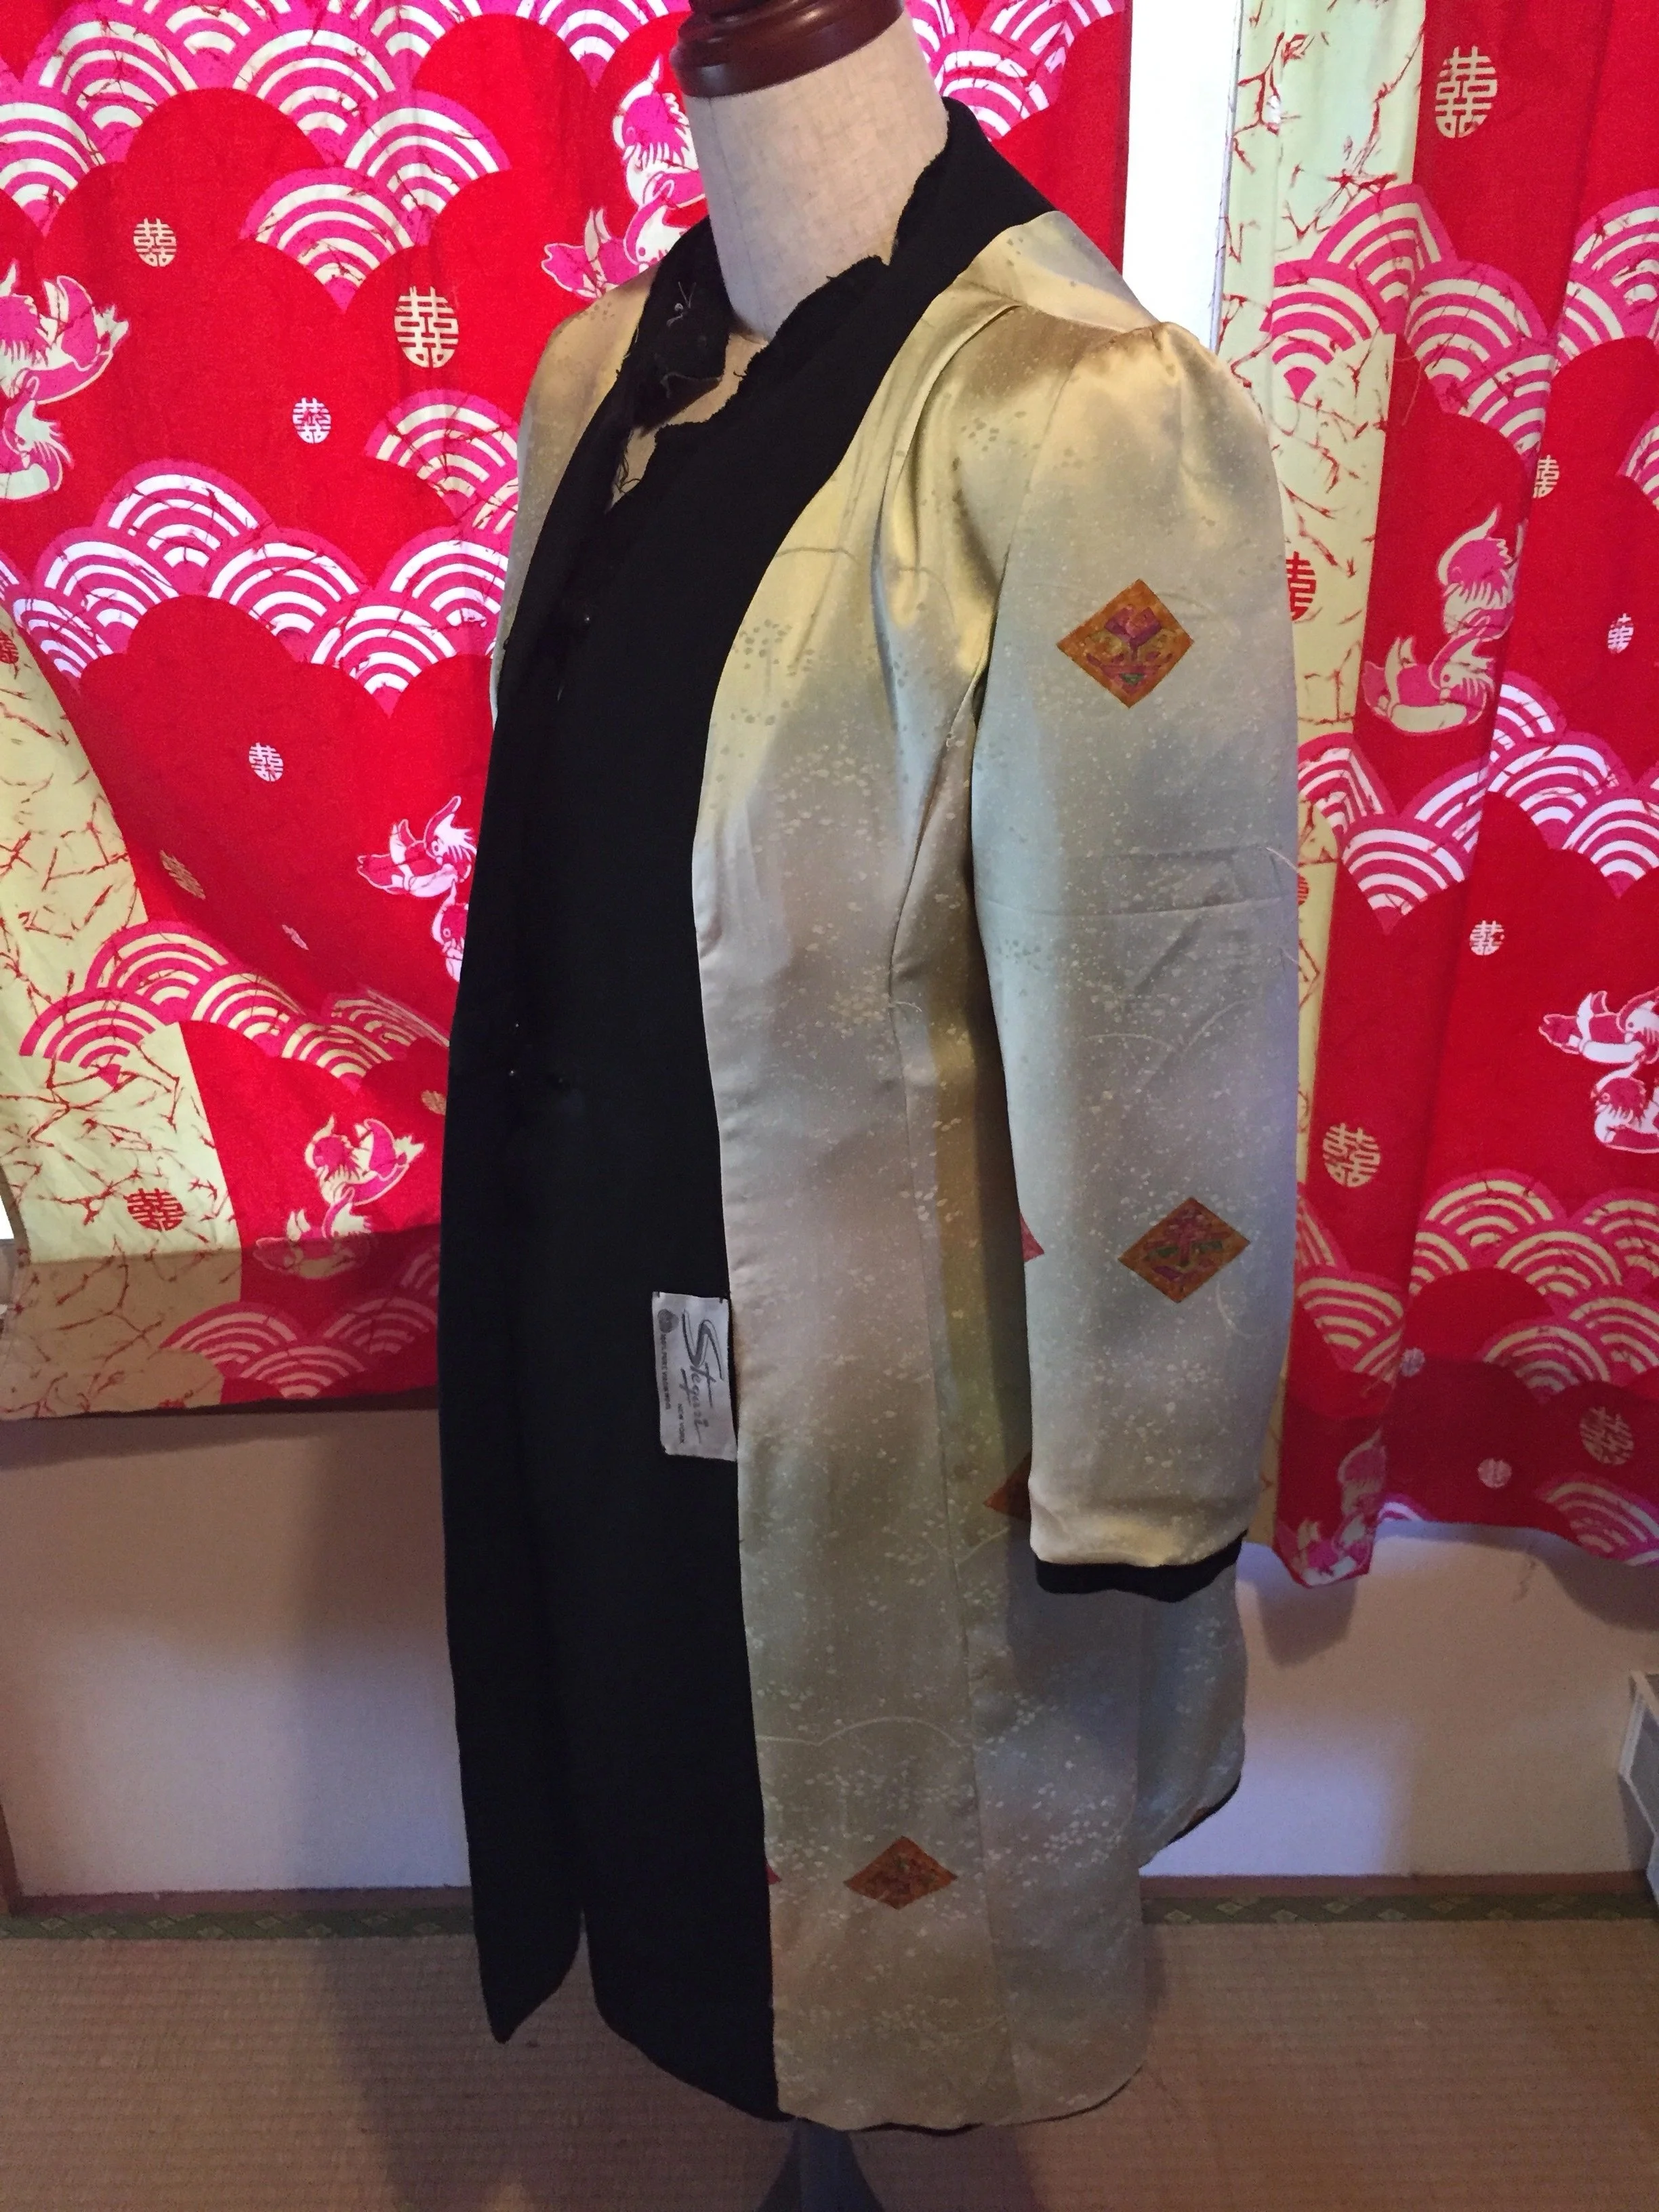
Here is that gap in the lining and an action shot of turning everything right-side out.
I attempted to sew the sleeve lining at the same time… even though that didn’t make sense to me. Indeed, I had two sleeve loops when I turned everything inside out. Fail. Unpicked the seam.
I left some areas of the hem un-stitched because I had to reach inside the coat and do some tricky anchoring of the interlining. At some points it had to attach loosely to a structural lining inside the coat. I couldn’t take a picture of this process because I did it mostly by feel, trying on, fixing. For most re-lining process this wont be an issue.
I then carefully hand-stitched the sleeve lining into place using the prior lining AND basting stitches I’d used to mark the inside of the sleeve when I’d removed the lining.
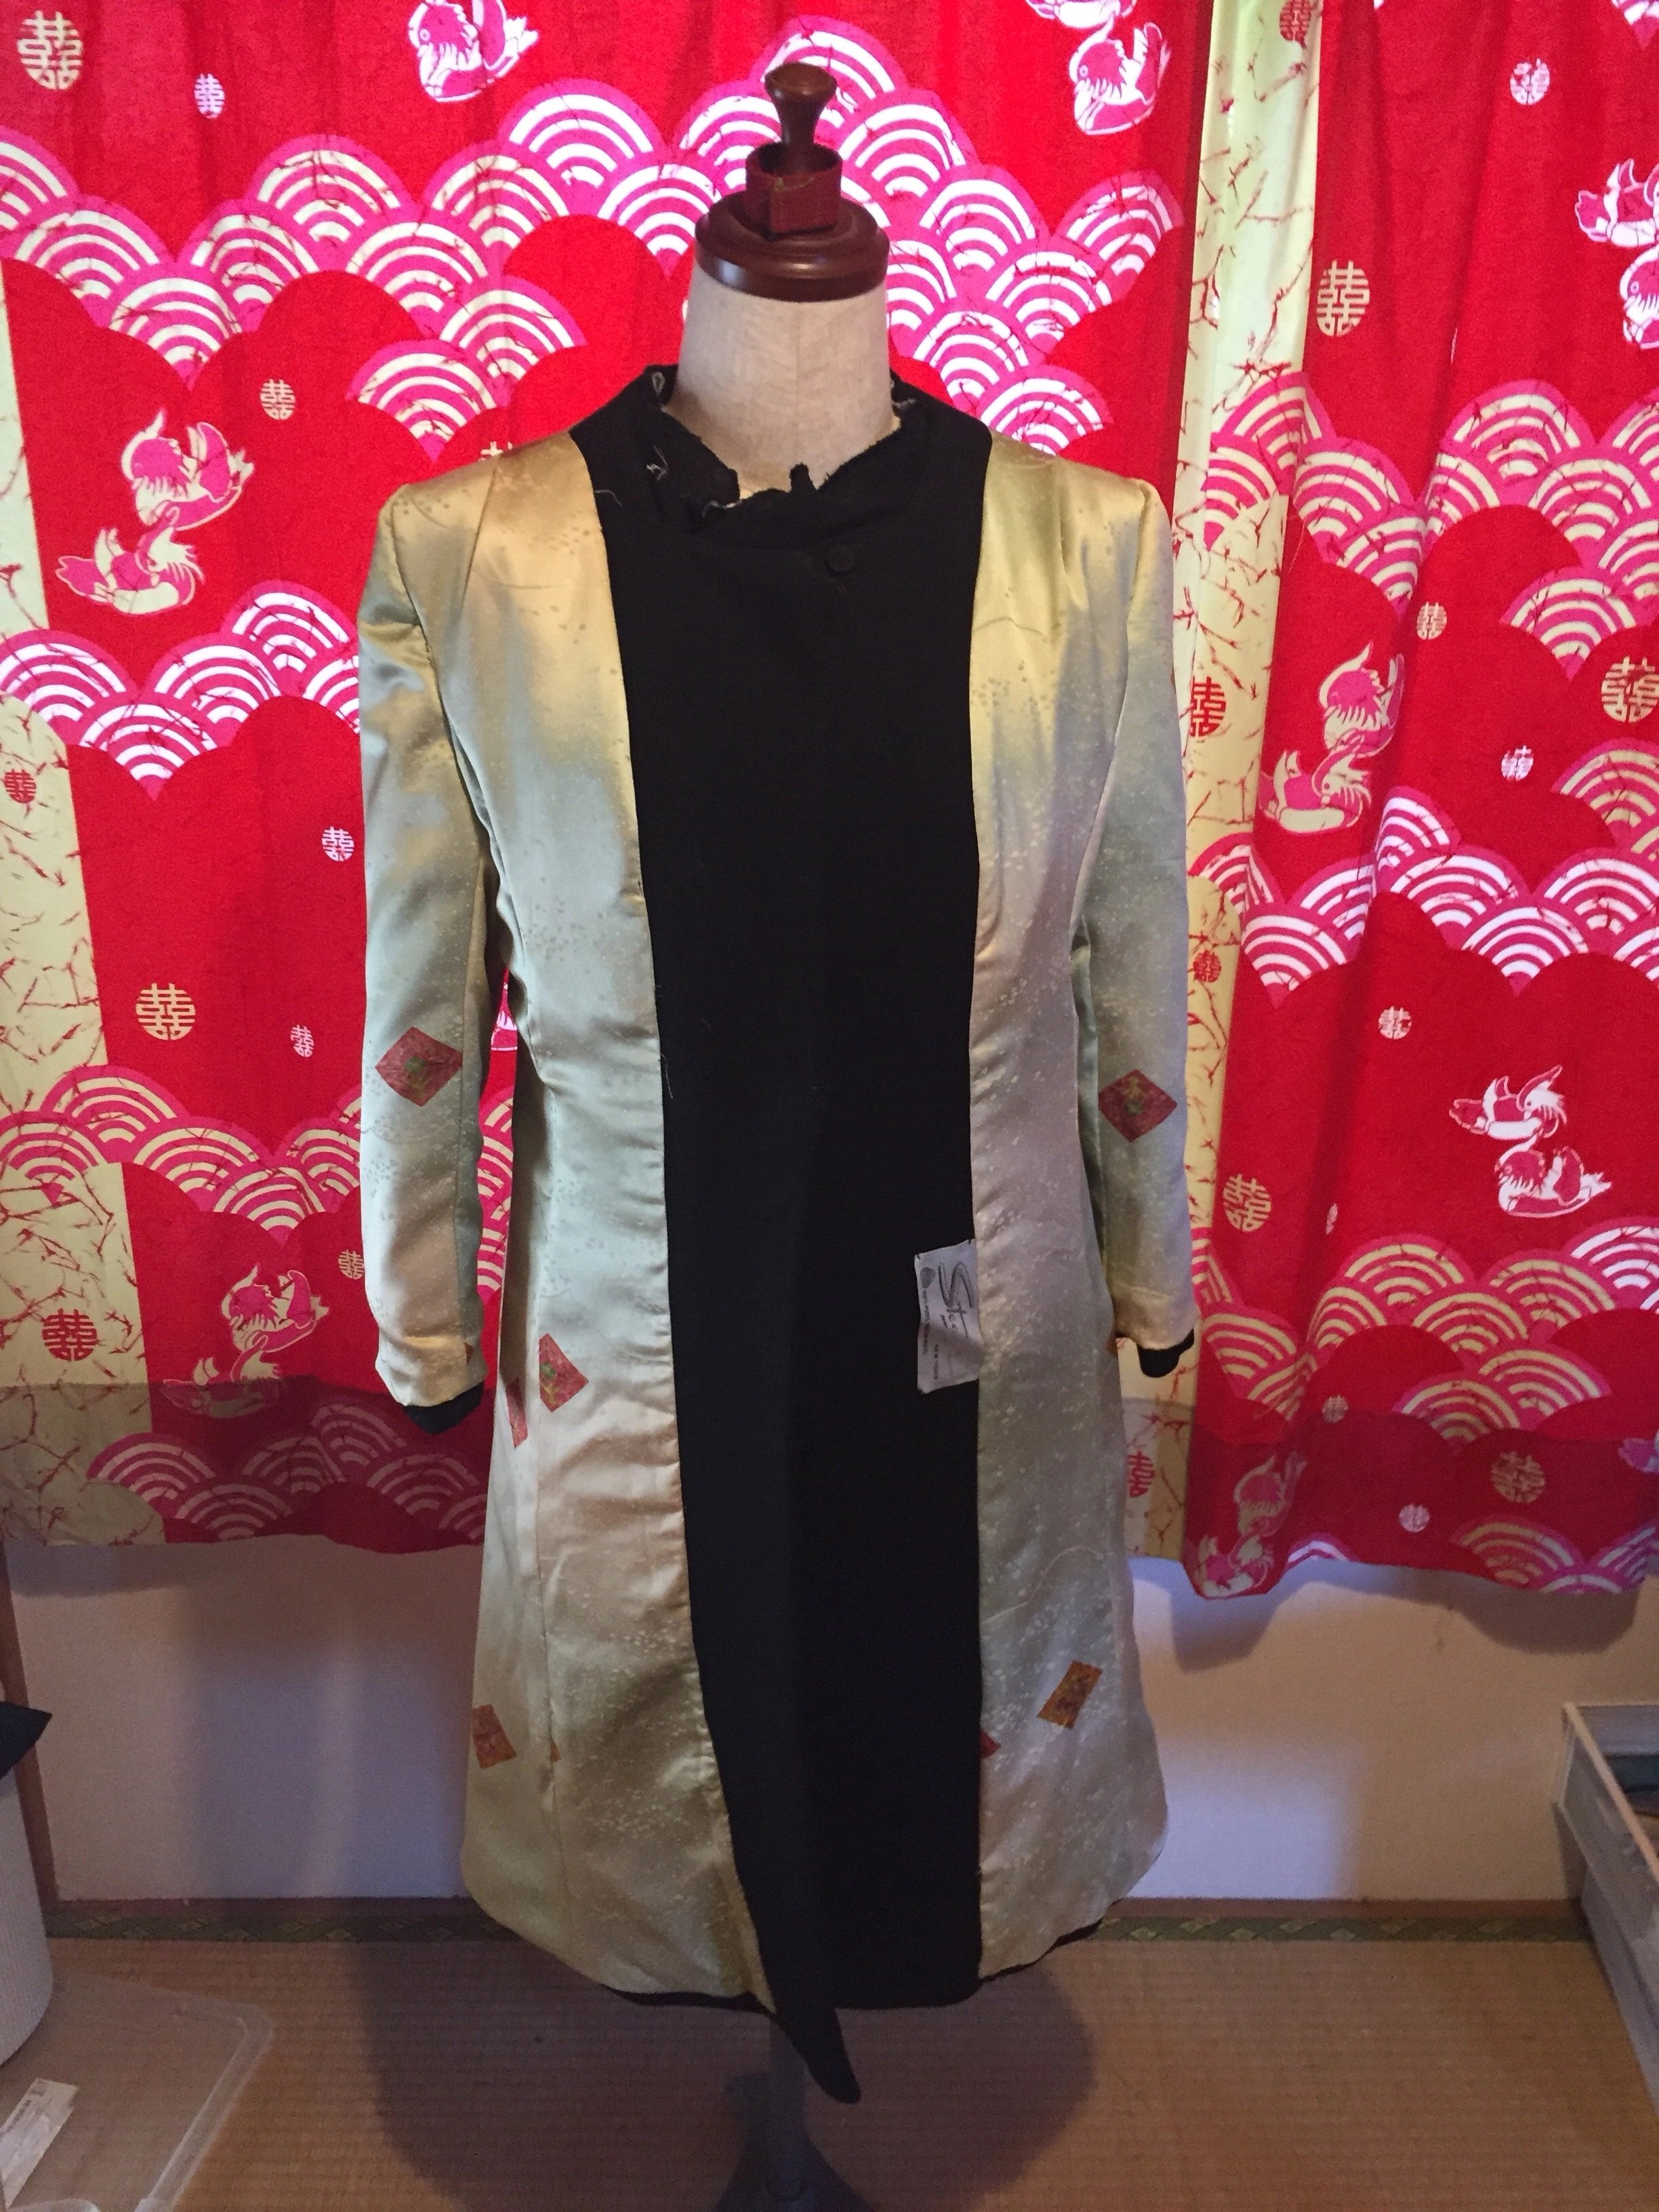
After hand finishing things I put in all on the dress-form to double check how everything hung and to press the lining where needed. There are some areas that aren’t perfect but..its a lining.

Removal and replacement of the fur (with Faux instead of real) and fixing the closures comes next!