When your head is full of holes. Starfire part 2
Part two
of Clawdeen Wolf to StarfireWhen my “Liquid Fusion” clear non-toxic urethane glue arrived it was time to remove ears and patch holes on my Clawdeen doll.

I regret that I didn’t take photos of these steps but here’s someone who did and whose internet guidance helped me. When I transform a larger doll into Starfire I’ll document this part of the process.
The short story: with a new x-acto blade I sliced off the ears close to the skull. I put the ears in a ziplock baggie as not to lose them before I tended to the ear-less holes.
The hole fixing takes days, a lot of “futz with this and then go to sleep”…continue when you find time.
First, get some wax paper. Squeeze two shallow puddles of Liquid Nails larger than the holes onto the wax paper. Allow to fully dry (a day) until you have patches.
Attach the patches over the holes with more Liquid Fusion….dry.
Thicken the patches from inside and outside the head with Liquid Fusion applied in layers with q-tips and other tools. Dry often until you think you have a thick enough strong surface.
After this came reattaching the ears in new positions, which I do have photos of…I couldn’t find a guide online.
I tried to slice the ears to be generally the same size. One and a time I attached the ears with Liquid Fusion/tape/pins/swearing to the sides of the head. There was no way to avoid a slight seam where they joined but I figured Starfire’s hairstyle would hide the worse of it.
You can seen the patched areas slightly in this photo.

I then started to study up on hair reroots. I’m not quite sure where to stock up on doll hair in Japan. It seems like a few places that sold Saran hair have had problems getting a steady supply up to their standards and have discontinued carrying it.
The Azone store in Akihabara had some doll hair. Not a huge range. I fretted between these two colors. I wanted a darker hot pink. I went with the wine red color because I thought it would look best with my doll’s skin tone…but in retrospect the pink might suit the character mood better.


Next time...somehow find a better pink.
Next, I had to figure out a re-root tool. Many online places outside of Japan sell them but shipping wasn’t friendly.
The needle(s) can be made easily enough by using wire cutters on a sewing needle (7-8-9) with a long eye to create what looks like a tiny seam rippers.
Image from dollyhair.com

Places were coy with the name of the things used to hold the needles.
PIN VICE! That’s what it is.
I got one!

I painted my scalp and got ready.
I thought I got a good picture of looping the hair with the tool. I didn't.
You take a few strands at a time, capture them with your needle at the midpoint of their length.
Image from Dolly Care

You thrust that hair into the doll skull and wiggle the needle out.
How does the hair stay in? You'll later anchor those hair loops from the inside of the head with glue.

I caught up on American politics while doing this for a few evenings.
Stab. Stab. Stab.
See the ear patches?

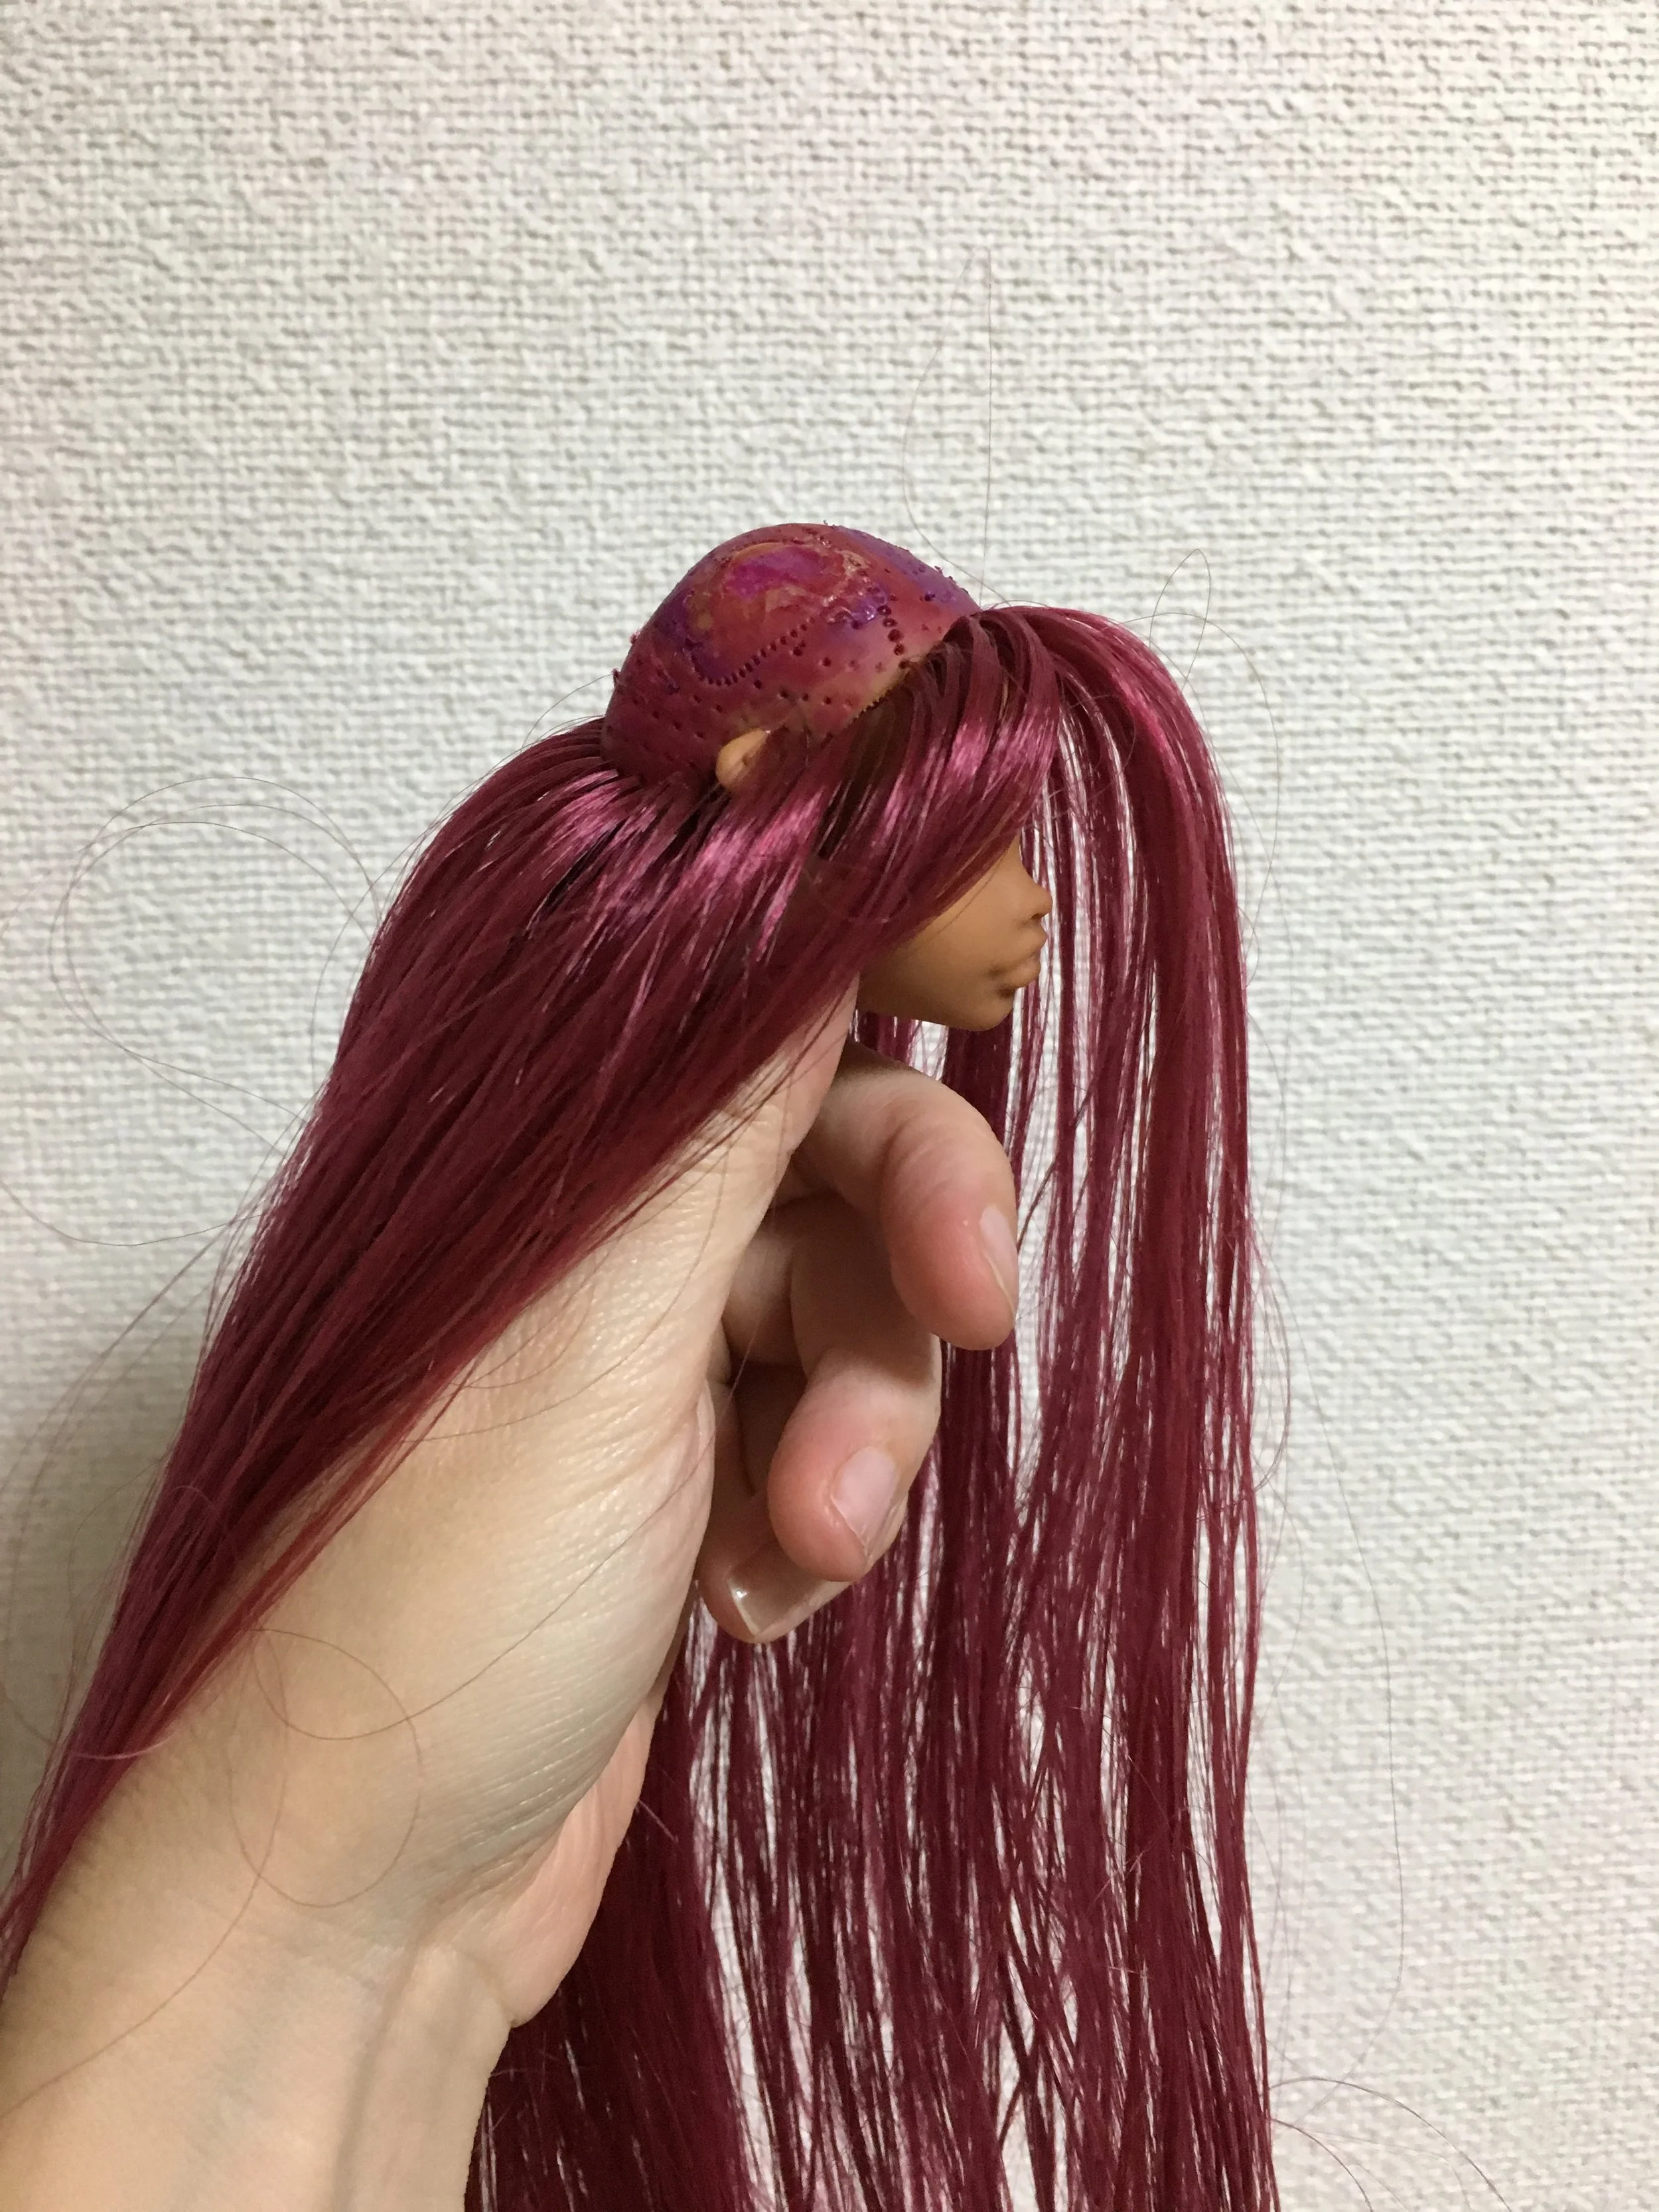
At this stage the hair sticks out straight from the head and seems...poofy.

This is when it's time to grab your craft glue. I used Aleene's Tacky Glue. (Ed note: use Fabri-tac instead.)

tacky
Now, with brushes and Q-tips...and sometimes squirting the glue directly into the head and squishing it around, you glue the hair in place from inside the head....and wait to dry...